How to Access Linux VPS Using SSH (No Password)

VPS (Virtual Private Server) are a type of server that can be easily purchased from hosting providers. VPS are virtual, which means they are not real physical servers. But surprisingly, most of the time you will not even notice it as you see their processors, memory and storage. In addition to that, the main significant difference between traditional hosting servers and VPS servers is the ability to customize everything as you need. No matter whether it is a software stack or hardware resources, you can adjust everything according to your requirements.
This guide will explain how to create a VPS in DigitalOcean and set up an SSH (Secure Shell) connection to access the VPS securely without using a password.
Why Should We Use SSH?
SSH is a highly secure and reliable network communication protocol that can be used to log in to remote systems, execute commands and transfer files back and forth. Among many other useful features, SSH can also be used to securely log in to remote systems with or without using any password. No matter whether you have been using an insecure public WiFi hotspot in a cafe, SSH encrypts the entire communication without any additional effort.
SSH Key Generation
We are using Ubuntu 20.04 LTS for this guide to generate SSH keys, but commands will be the same for all other Linux based distributions as well. Mac OS users will also be able to use the same commands. Windows users can use a GUI client like Putty.
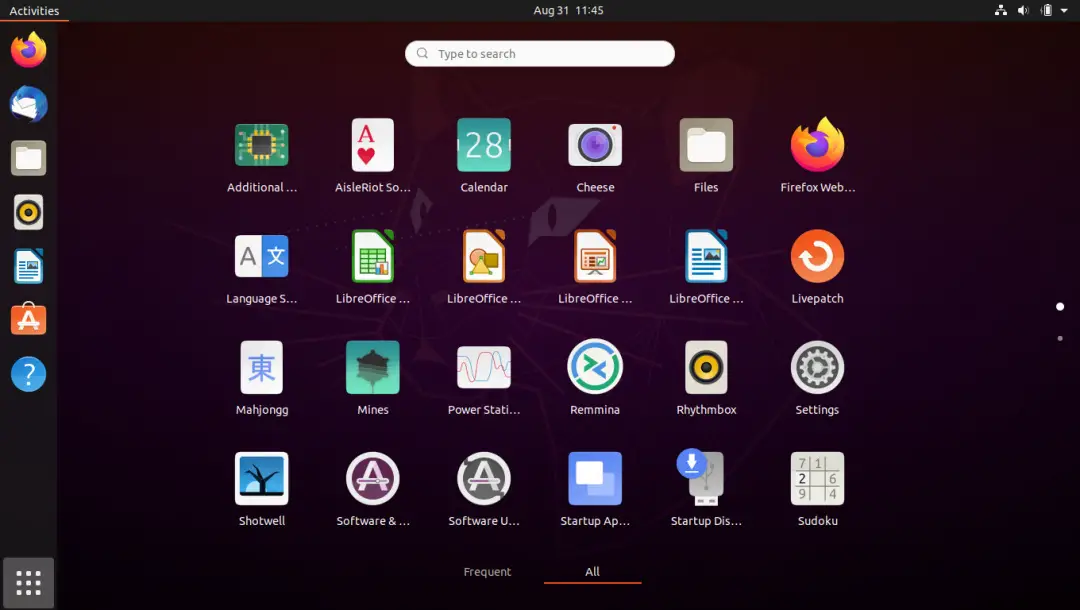
First, open the application launcher by clicking the icon in the left bottom corner.
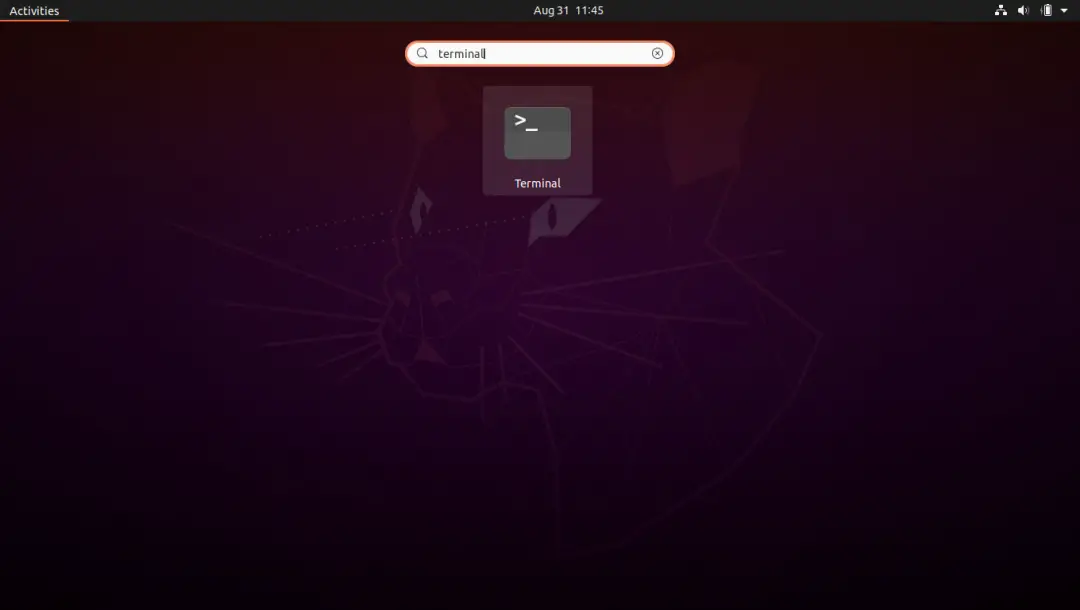
Search for “terminal” and press enter. You will also be able to open the terminal using the shortcut keys by pressing “Control” + “Alter” + “T” at the same time.
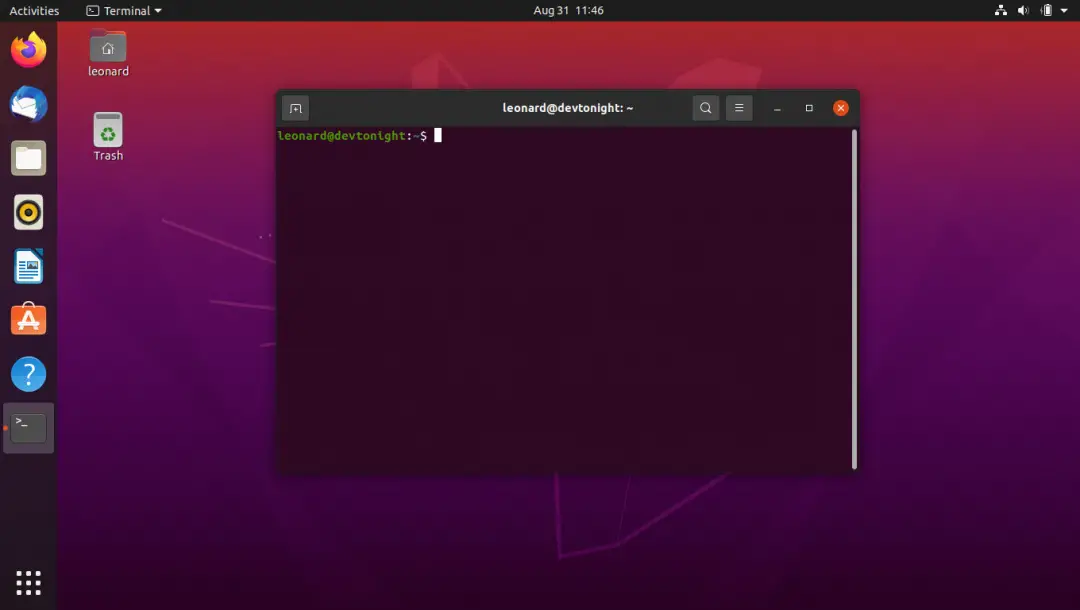
Now you will be able to see a terminal window. We are using this terminal to type commands.
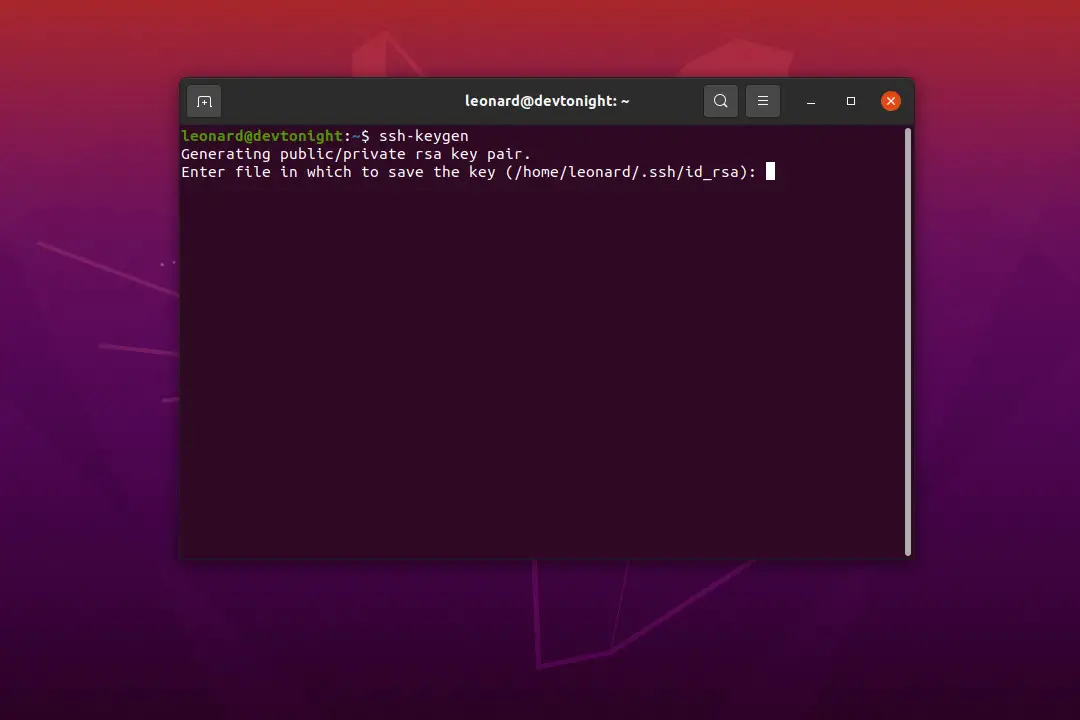
Type the following command and press enter.
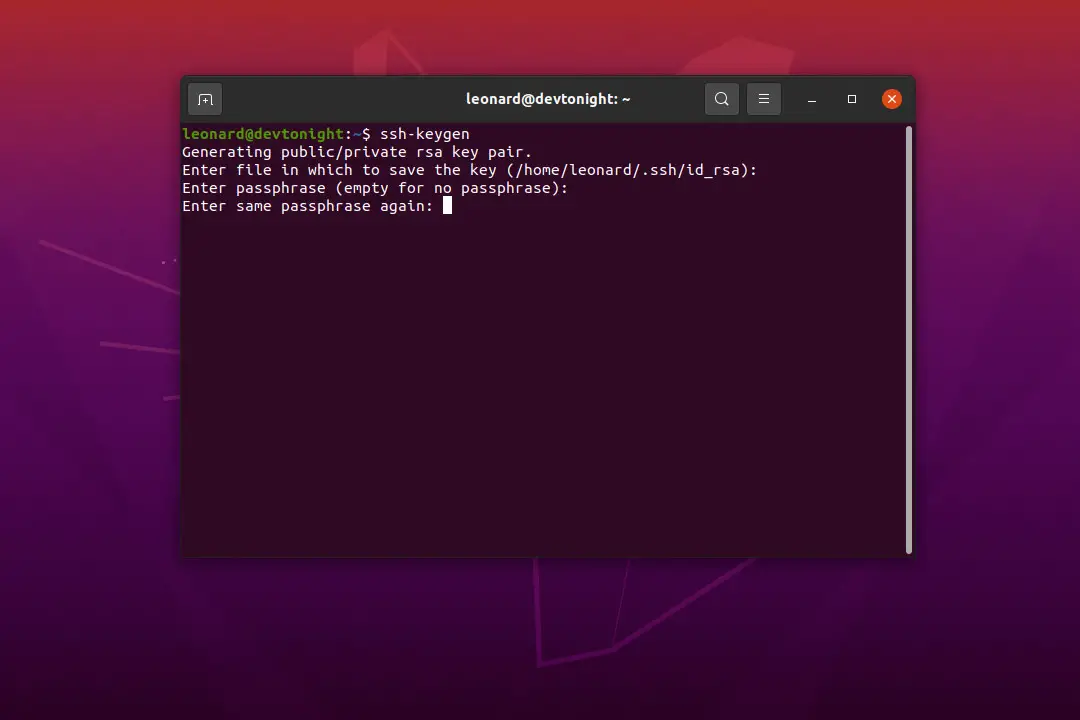
ssh-keygen
By default, it will use the key type as RSA. But there are many other key types like “dsa”, “ecdsa”, “ecdsa-sk”, “ed25519”, “ed25519-sk”. You can use something like “ed25519”, which is considered more secure than RSA like mentioned below. But it is optional and it doesn’t mean RSA is insecure or outdated.
ssh-keygen -t ed25519
It will ask for a path and key name, if you need you can mention it or otherwise you can simply press enter to use the default path and name.
Again, it will ask for a password. We can protect our private key with a password for additional security. So, even someone stolen your keys, they will not be able to use them without the password. If you don’t need it, simply leave them blank by pressing enter key twice.
If you are new to the Linux terminal, you might be wondering why it doesn’t indicate when you type the password. But you don’t need to worry about it, that is how it is.
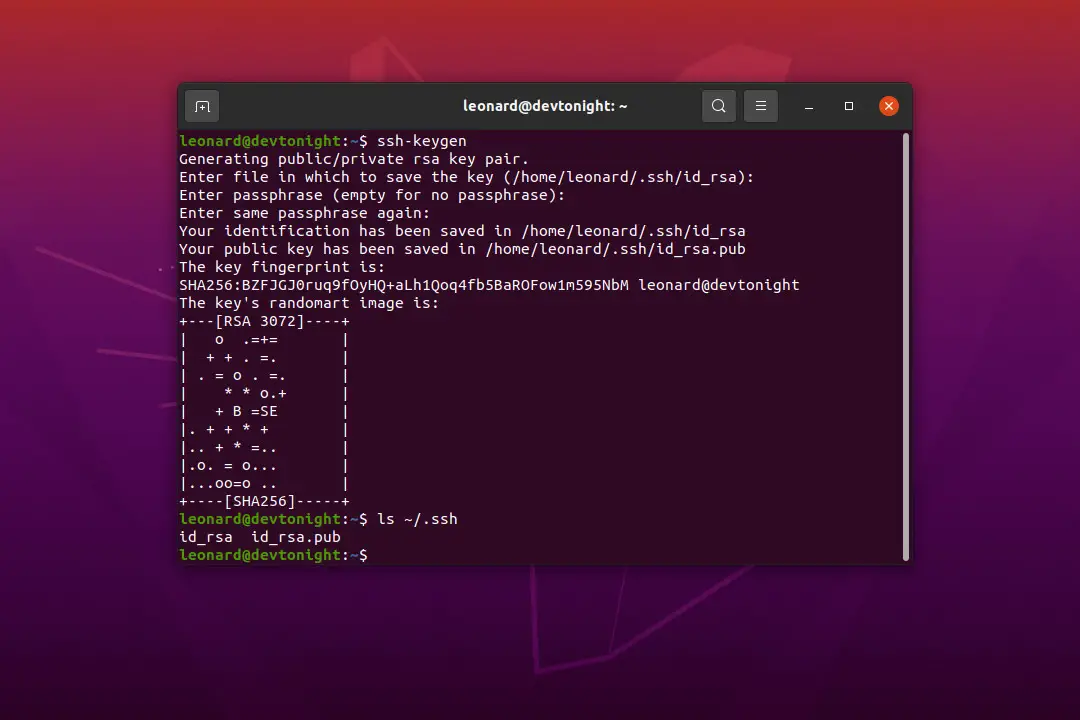
After that, SSH key pair will be generated and stored in the “.ssh” directory of your home directory. You can list them by using the “ls” command.
ls ~/.ssh
You will see two files named “id_rsa” and “id_rsa.pub”. “id_rsa” is the private key, DO NOT share the private key(s) with anyone. “id_rsa.pub” is the public key, which is safe to share.
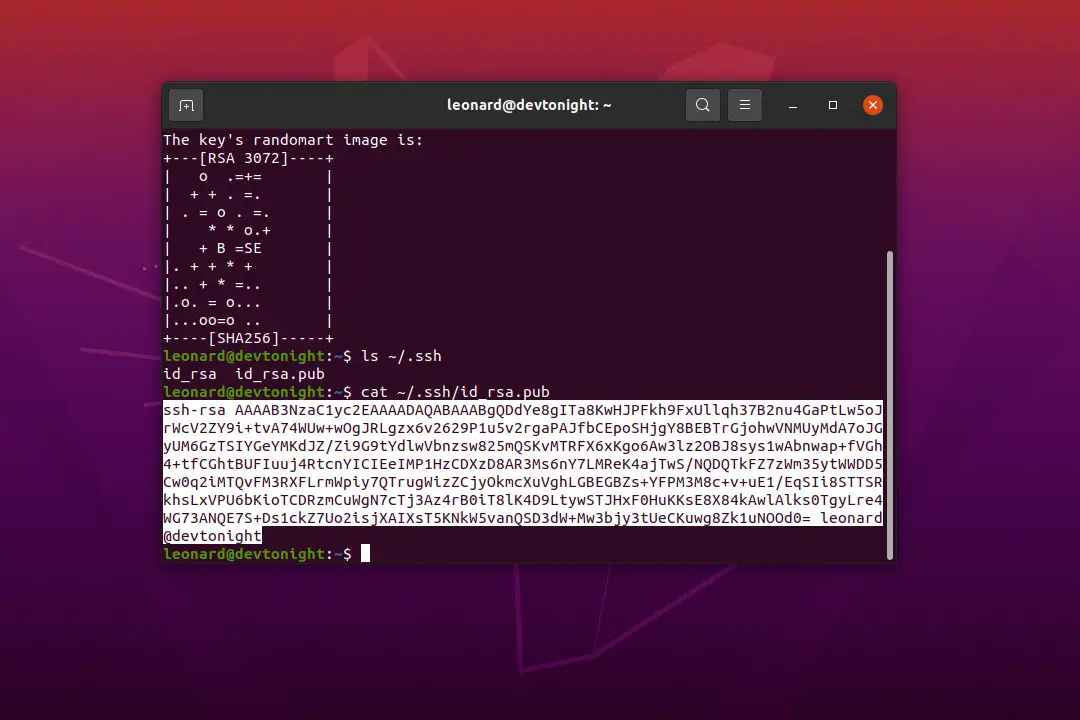
Type the following command, it will show the content in your public key. Select the content of the key and copy it, we need it later.
SSH Key Setup
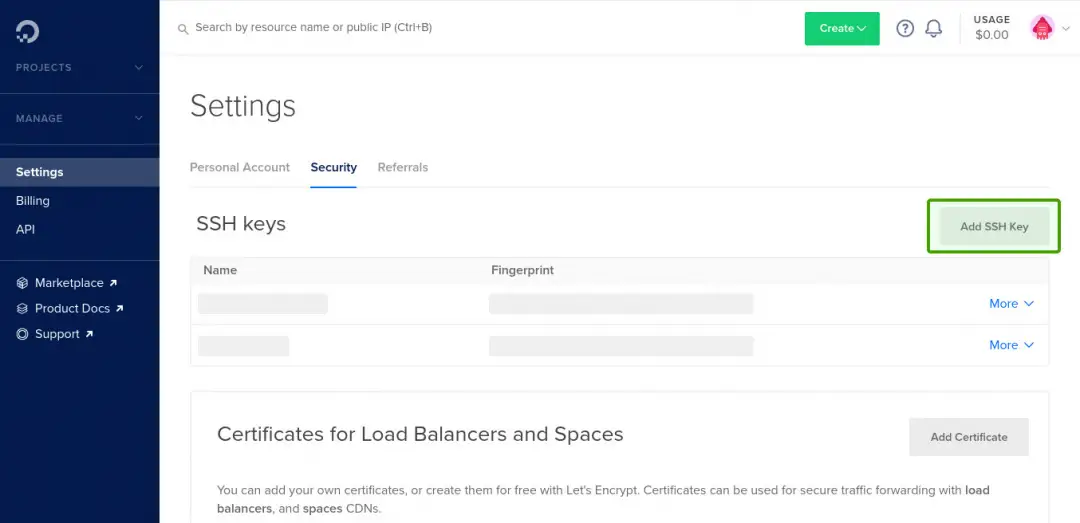
Even though we used DigitalOcean for this guide, this SSH key setup process will be similar to other VPS hosting providers like Vultr, Linode as well. Go to Settings > Security and press “Add SSH Key”. If you are using Vultr, it is in Account > SSH Keys.
Now paste the previously copied SSH key in to “SSH key content” box. Also, give it a name.
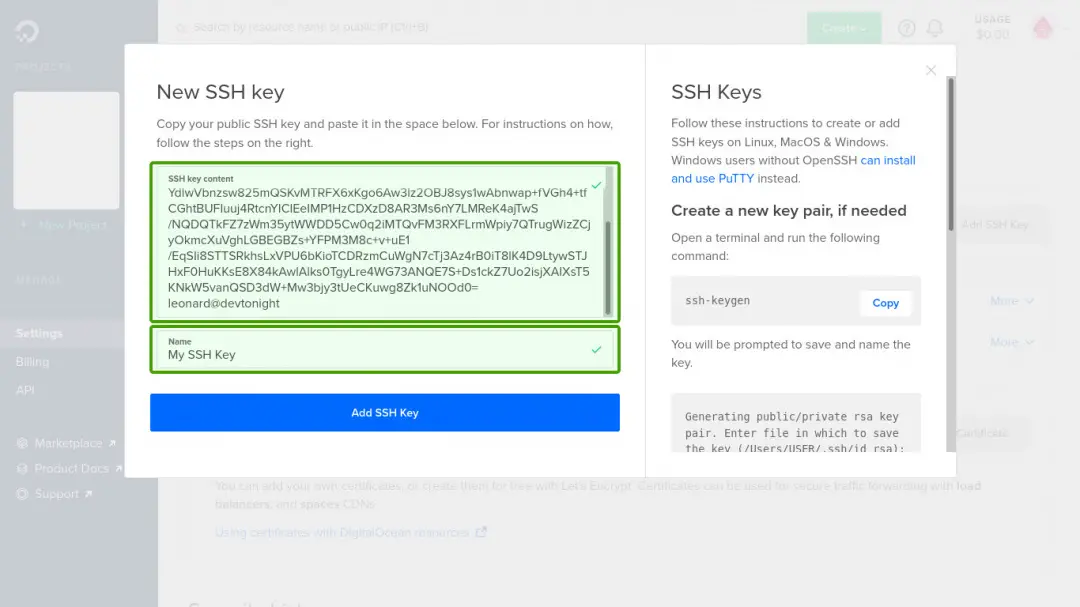
You will be able to see that the public key has been successfully added to your DigitalOcean account. Remember, currently, this key is in your DigitalOcean account and not in a VPS. We need to add this key to VPS.

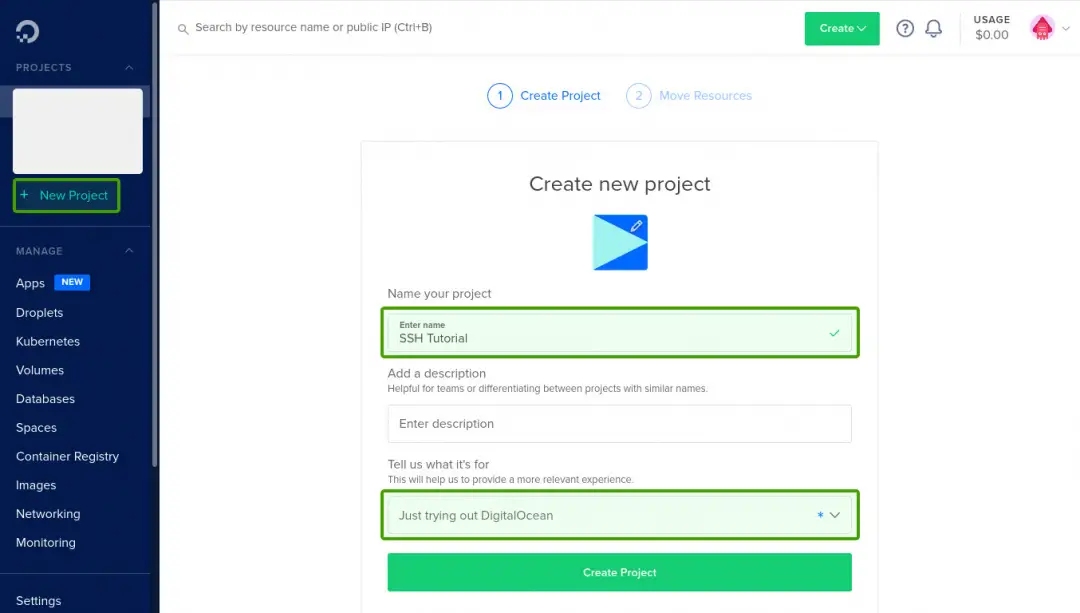
Create A New Project
DigitalOcean has a feature called “Projects” which will be helpful when you manage multiple projects. Click the “New Project” link in the sidebar to create a new project.
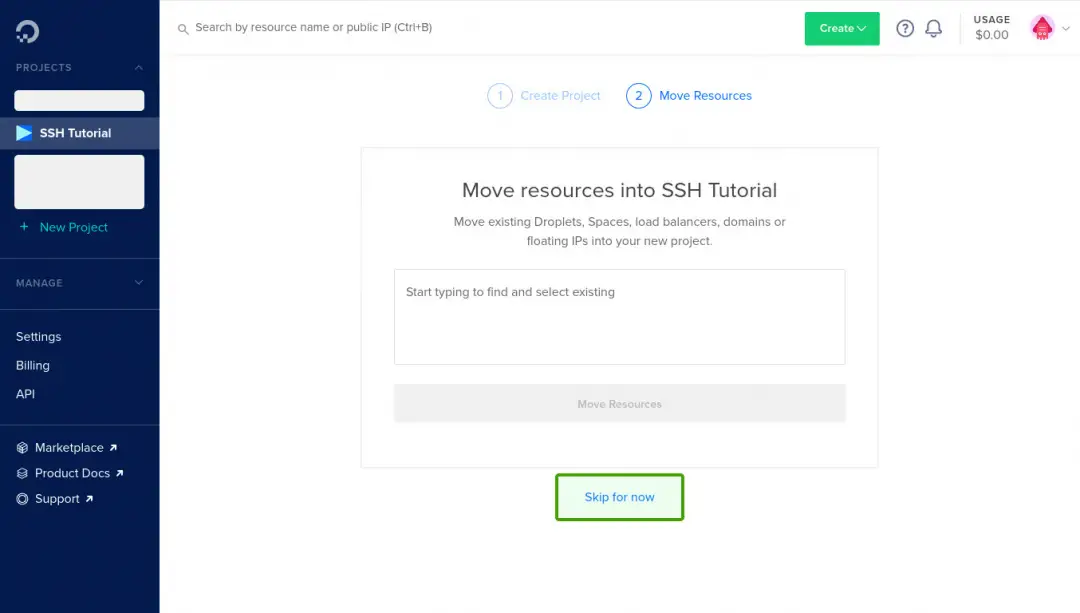
Click “Skip for now”.
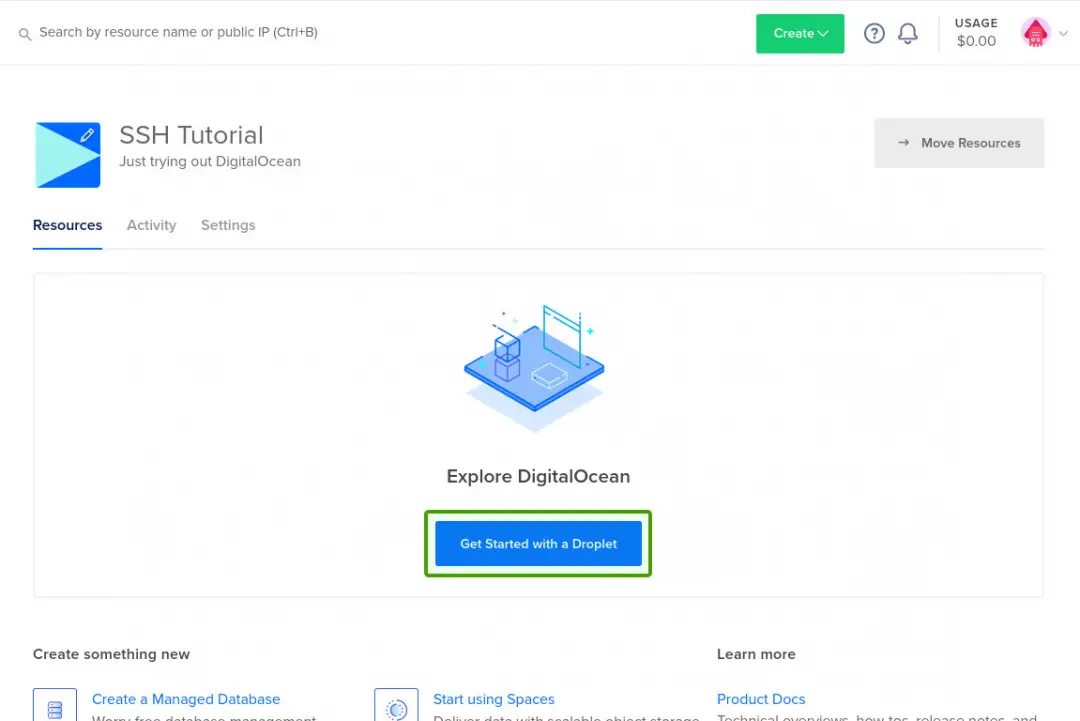
VPS Creation
Now we are going to create the VPS. In DigitalOcean, it is called a “Droplet”.
First, you need to select an OS (Operating System) and version you need for the VPS.
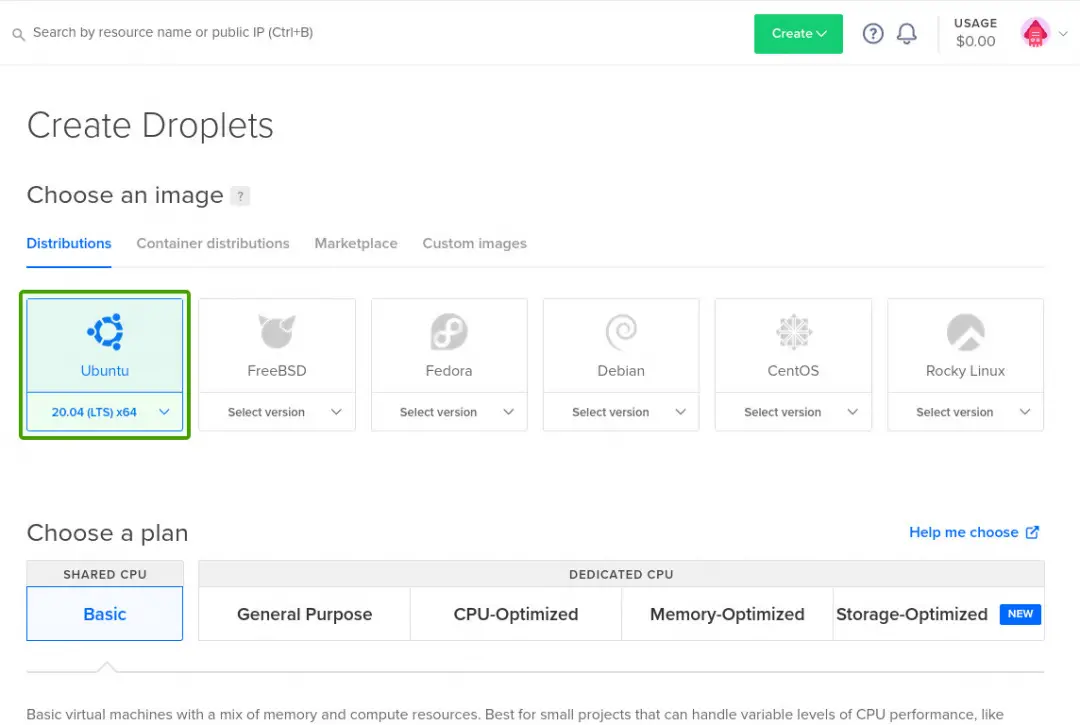
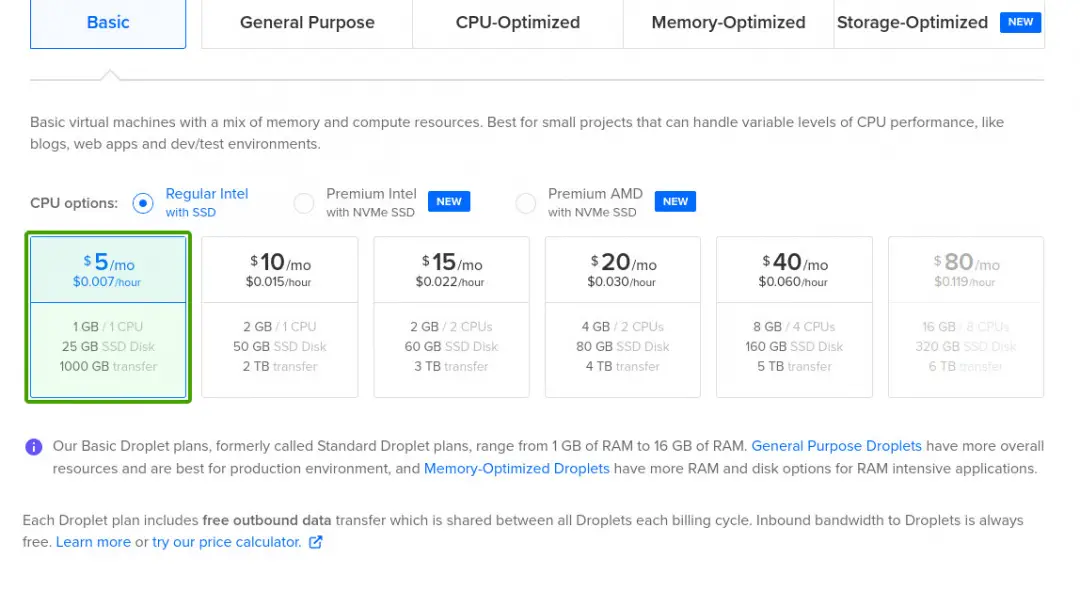
There will be multiple hardware configurations, we are using the first option for this guide.
Select a location for your VPS.

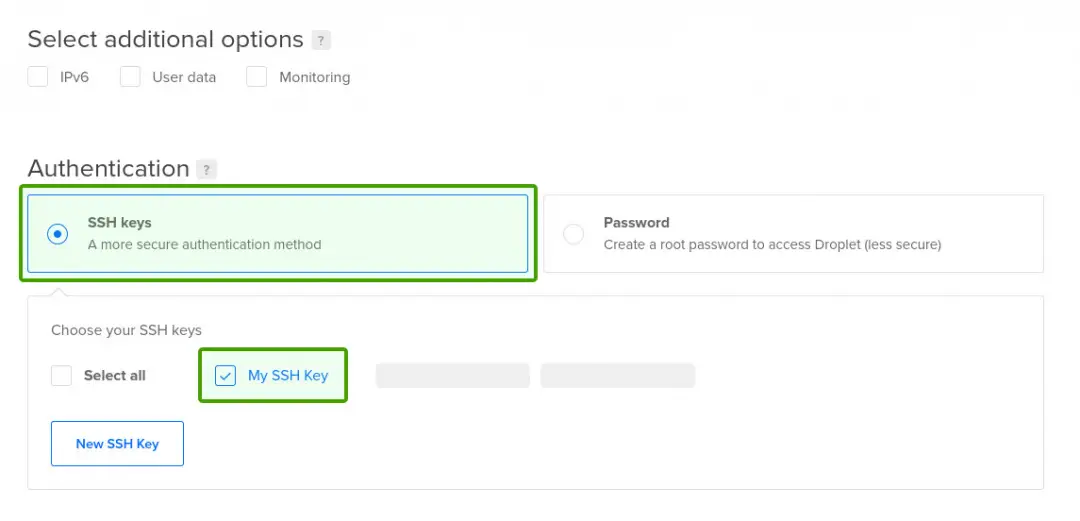
This step is very important, now you should be able to see the SSH key which we added, previously. Make sure to select it. Otherwise, you will have to manually add it using the terminal.
Give your VPS a hostname, kind of like a name to identify it.
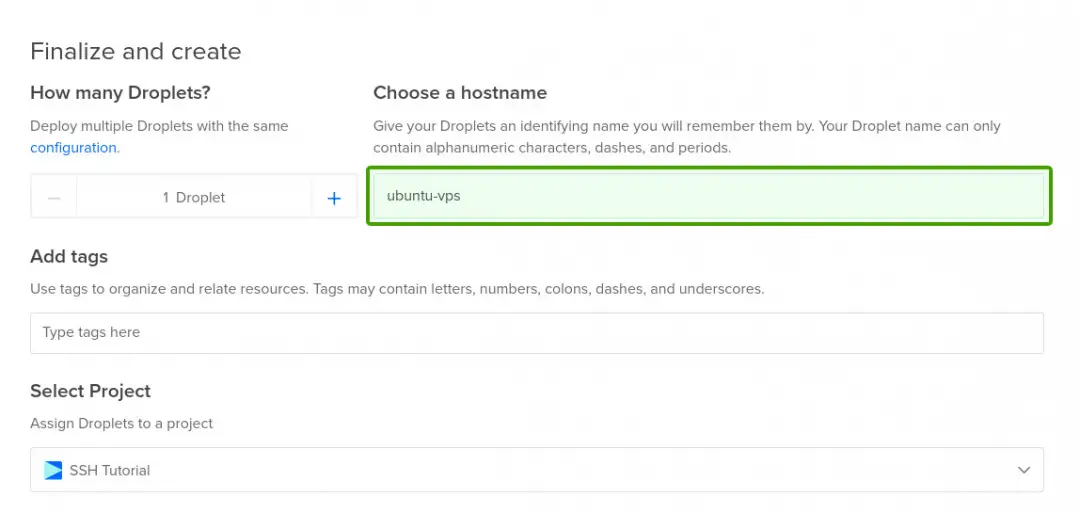
Make sure everything is correct and then press “Create Droplet”.
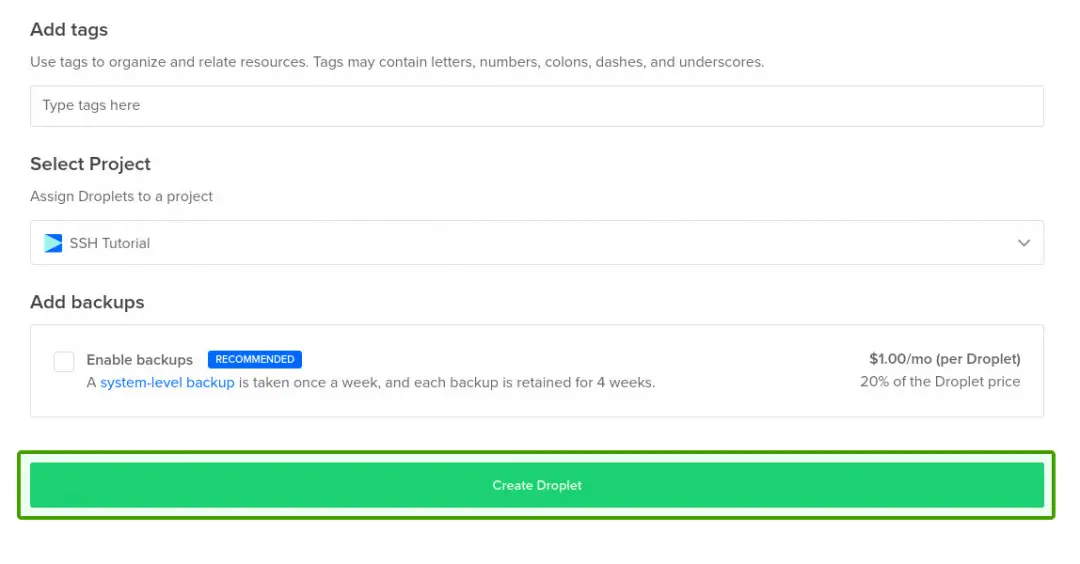
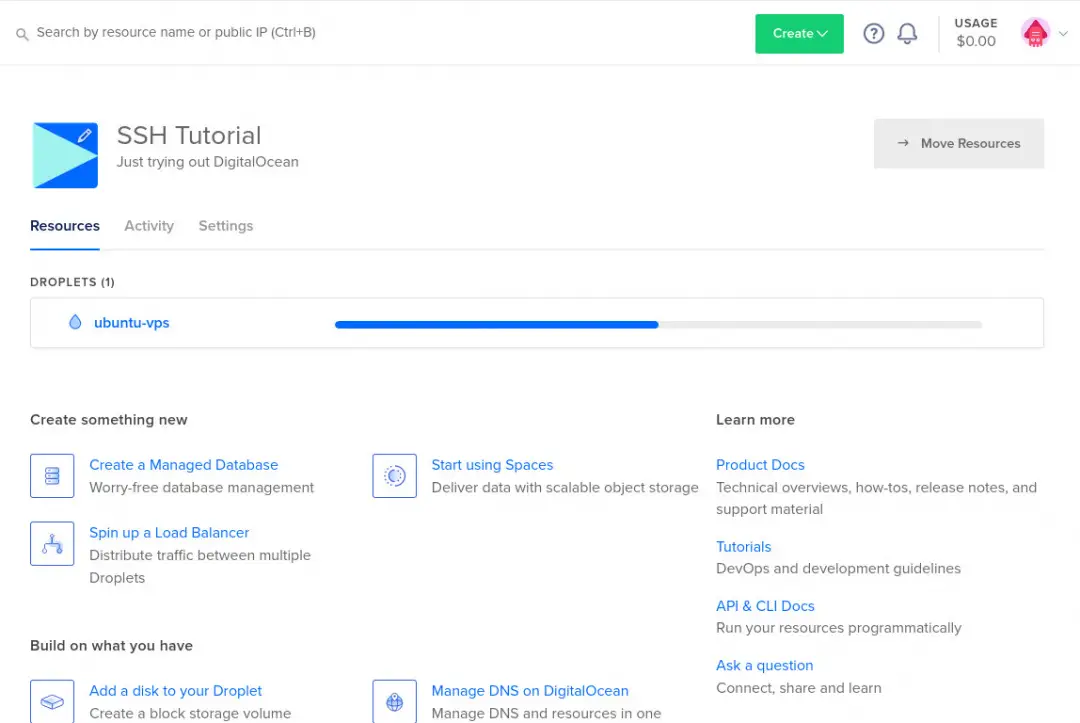
It will take few minutes to build the droplet. Meanwhile, you can see the progress.
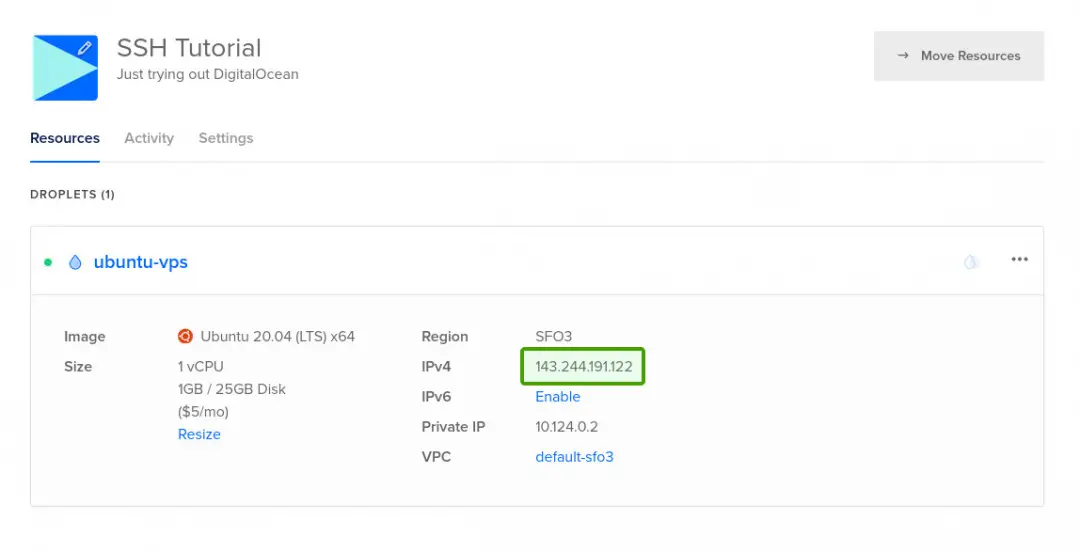
Once it is created, click on it to expand it. You will be able to see its IP address. Copy the IP address, we need it to log in to the VPS.
Log In Using SSH
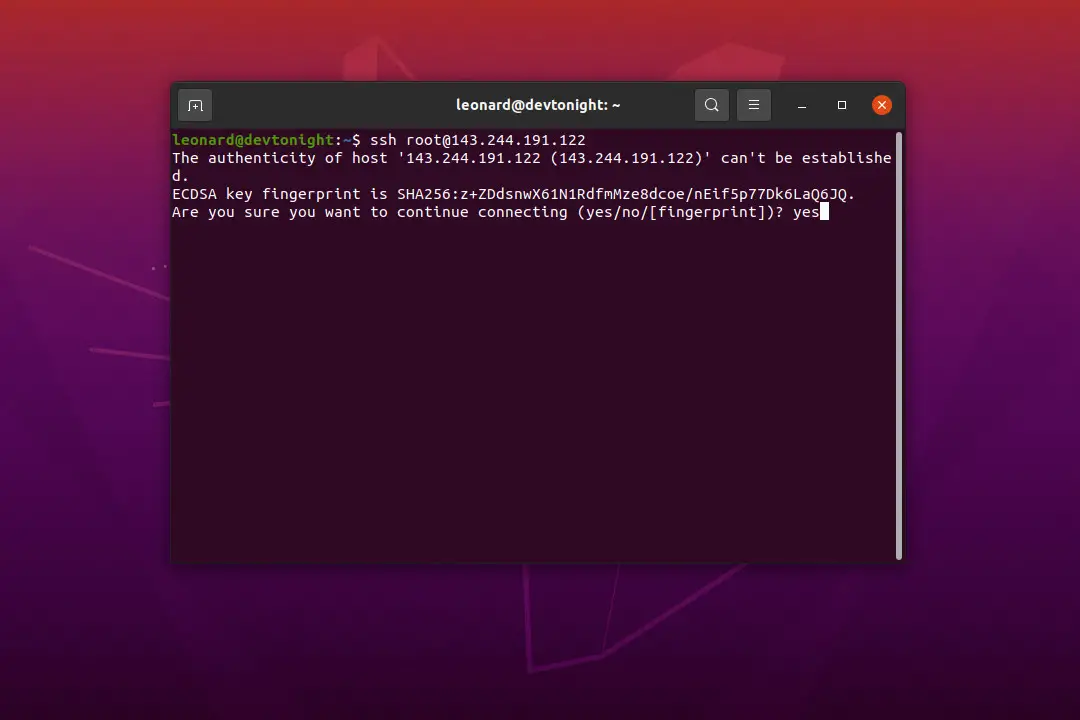
Again, get back into the terminal of your computer, type the following command. Make sure to replace “your_ip_address_here” with your IP address.
ssh root@your_ip_address_here
When you are connecting to the VPS for the first, you will have to confirm it. Type “yes” and press enter.
You have successfully logged in to the VPS. In “root@ubuntu-vps:~#” you can see that you have logged in as the “root” account. It is the most powerful and privileged user in your VPS. Now you can install/uninstall software or do whatever you want.

Usually, the very first thing that we need to do when we logged in to a newly created VPS is updating its software list. Type following command, it will take few seconds.
apt update
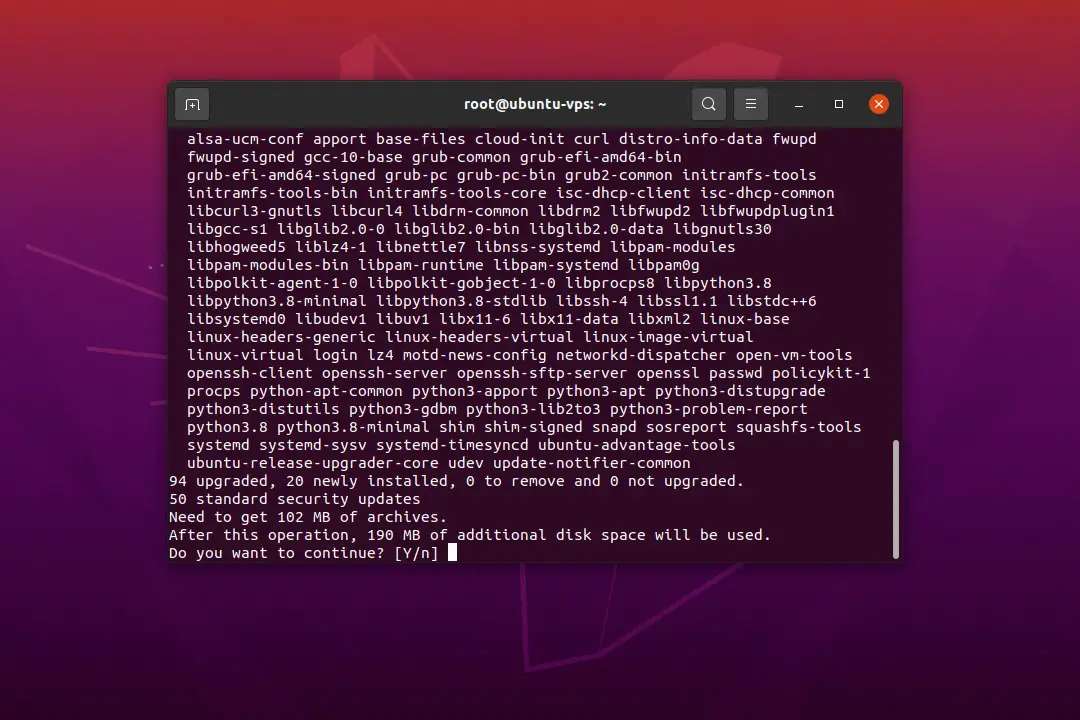
Now type the following command to upgrade all the software installed in the VPS. It will show a list of software that has an update, the total data that need to be download and the required disk space for the upgrade.
apt upgrade
Press enter to continue.
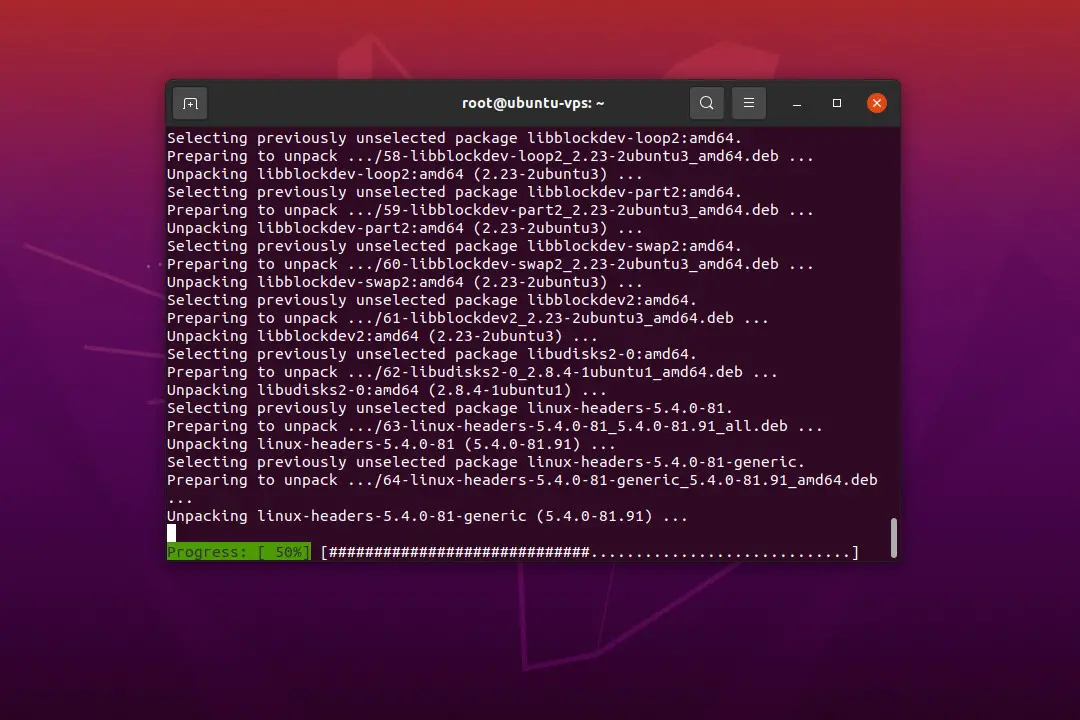
This process can take few minutes and the progress will be displayed.
Disconnect The SSH Connection
Once you did what you need, you can terminate the SSH connection by typing “exit” in the terminal.

Destroy The VPS
If you no longer use the VPS, consider deleting it. Because most hosting providers charge for the time you keep it, including DigitalOcean.
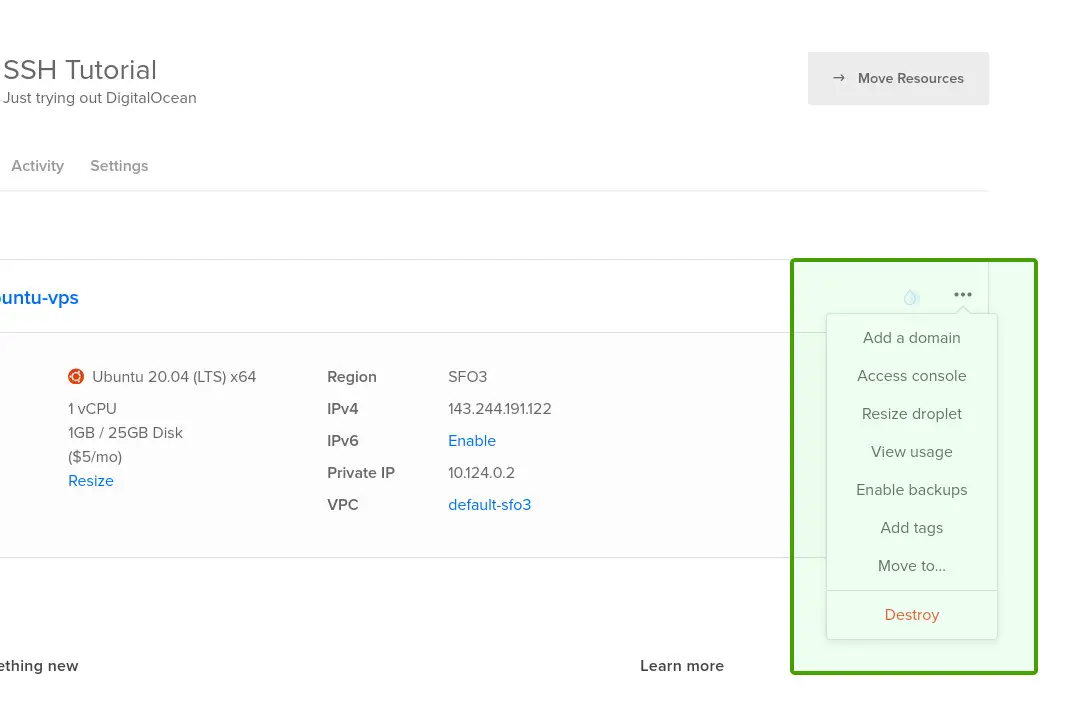
Open the droplet menu and click “Destroy”.
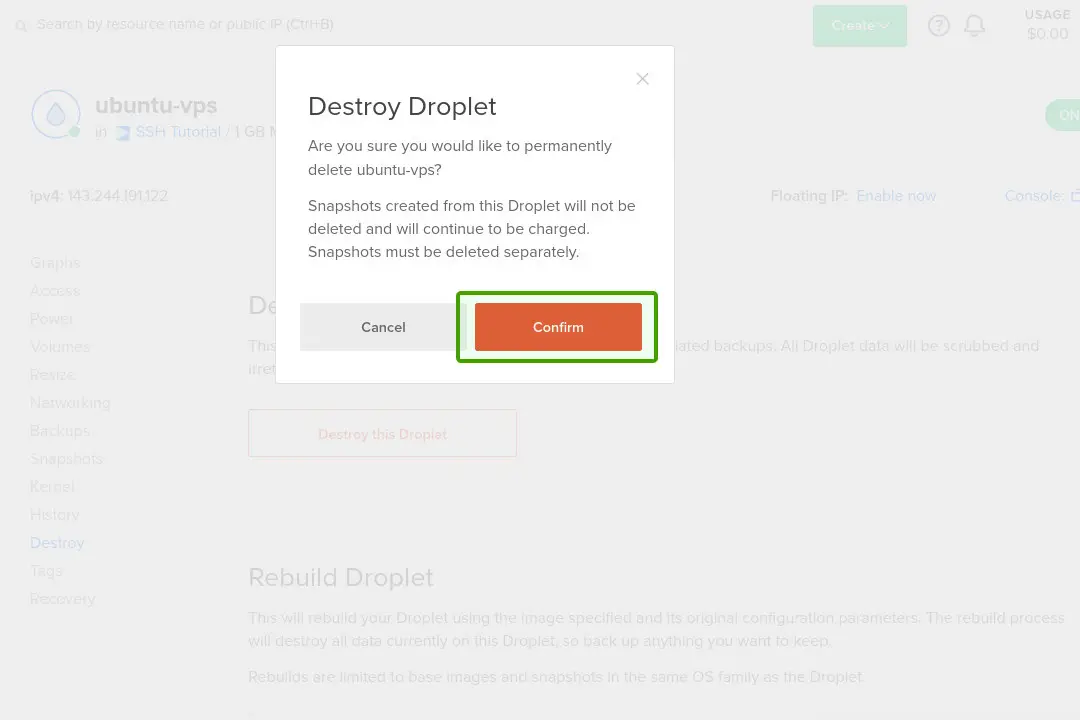
Click “Destroy this Droplet”.

You will have to confirm the VPS deletion for the last time. After this, all the data will be deleted and will not be able to recover. Make sure that you are destroying the exact droplet.
Conclusion
In this beginner-friendly guide, we explained the advantages of using a password-less SSH connection to access VPS. Then we created an SSH key pair and a VPS. After that, we used that key pair to successfully log in to the VPS we created without using a password. What do you think about this guide? Did you find something confusing or need to add something to the discussion? Let’s discuss this in the comments section.
Tip! DigitalOcean is giving away $200 free credits to build apps, host websites and explore many other services of their platform. Sign-up now!