Laravel With DigitalOcean Managed MySQL Databases

DigitalOcean Managed MySQL is a fully managed DBMS service that makes it easy to set up, maintain and scale a MySQL database. Among many features, zero downtime up-scaling and read-only nodes are remarkable features available in DigitalOcean Managed MySQL service. On other hand, Laravel is one of the most popular and actively developed PHP framework that makes it easy to build web applications. In this tutorial, we will show you how to use DigitalOcean Managed MySQL with a Laravel application over a secure SSL connection. Also, in the end, we discuss how to solve possible issues that can happen when trying to connect to DigitalOcean Managed MySQL servers.
Create a DigitalOcean Managed MySQL Database
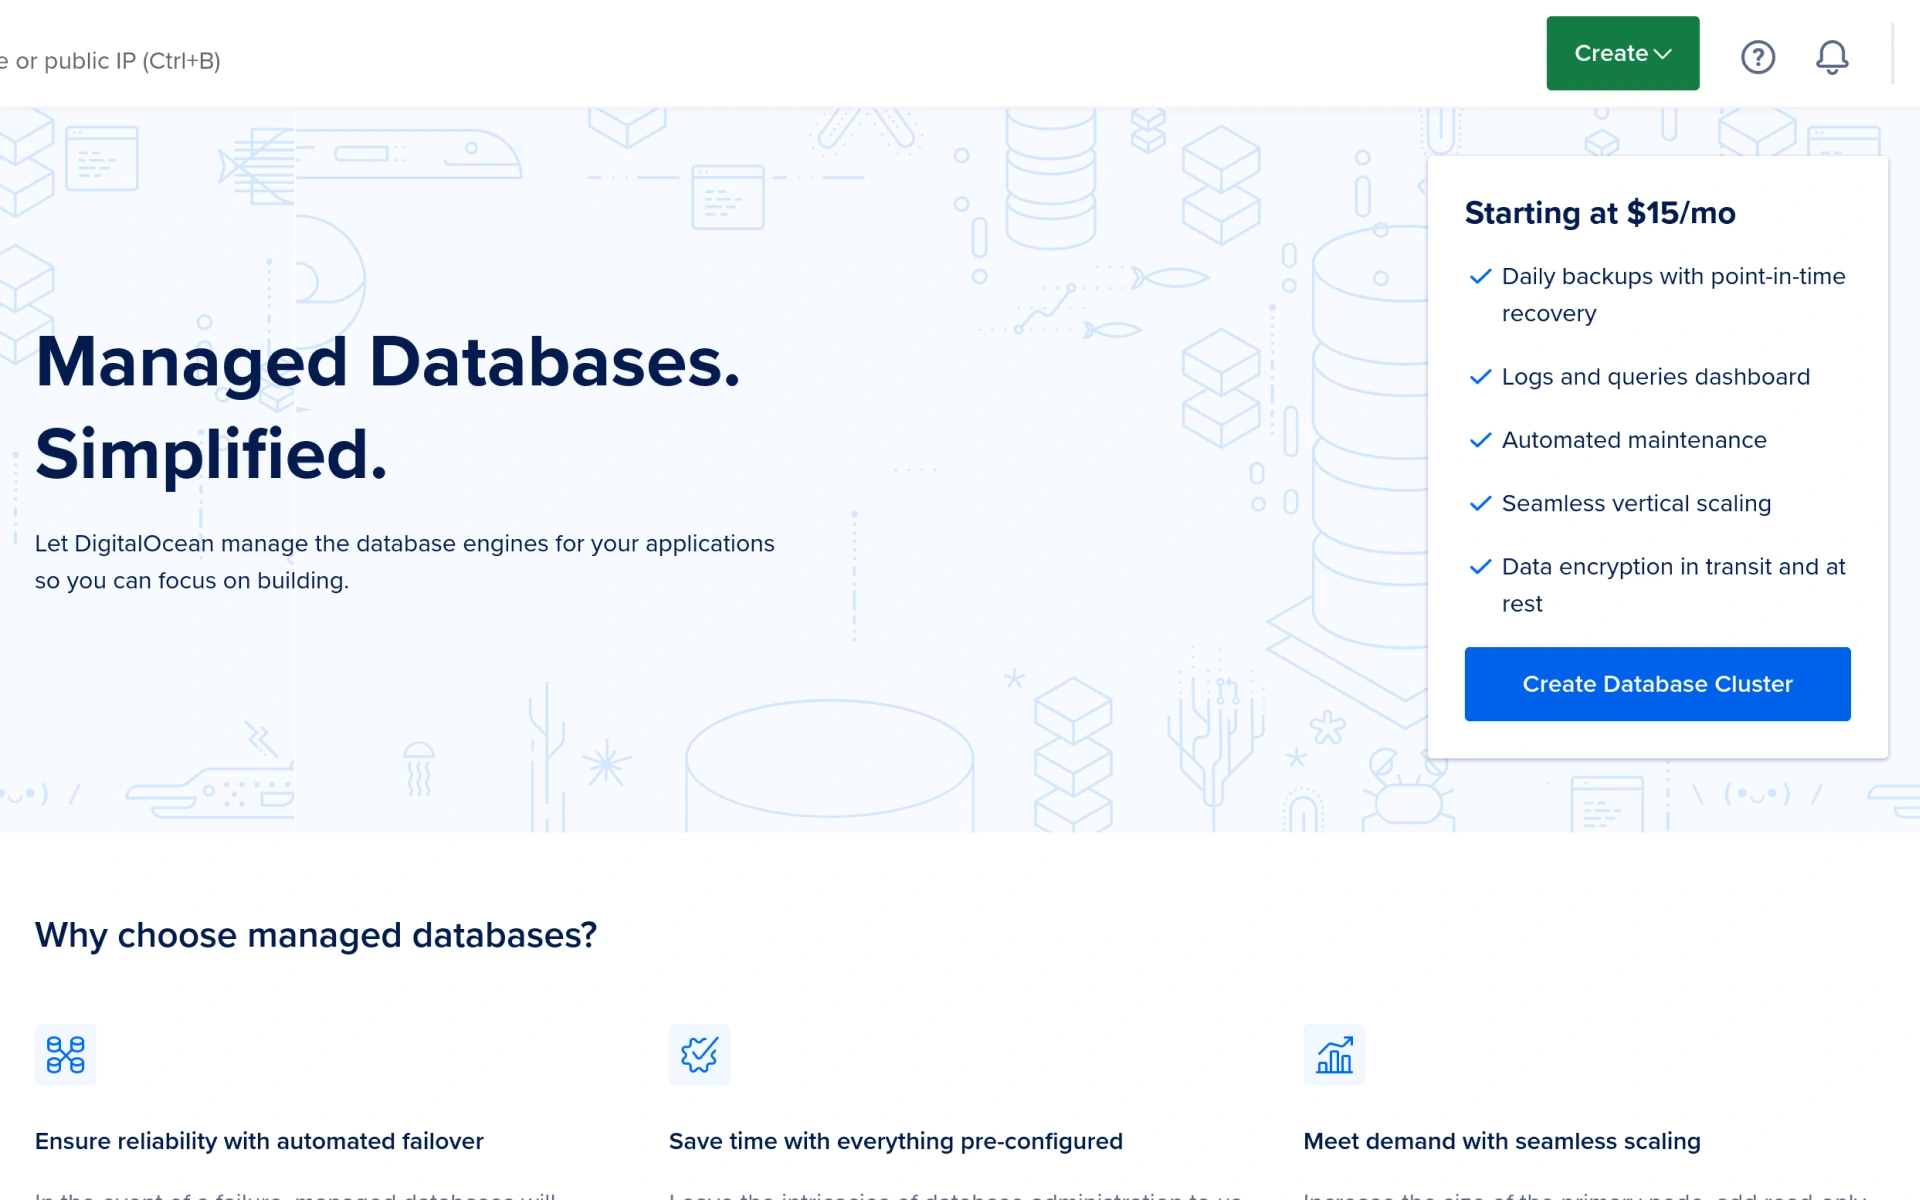
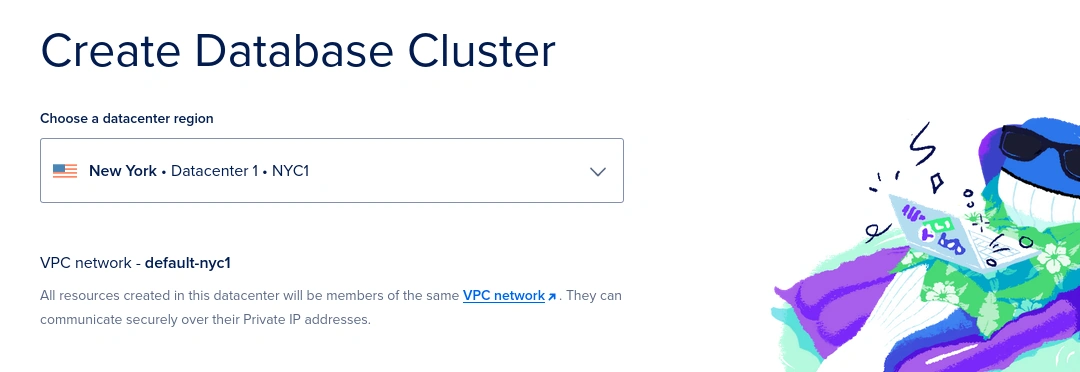
The very first step is to create a DigitalOcean Managed MySQL database. To do this, log in to your DigitalOcean account and click on the “Databases” button in the sidebar. Then, click on the “Create Database Cluster” button to start the process.
You will be asked to choose a region from the list.
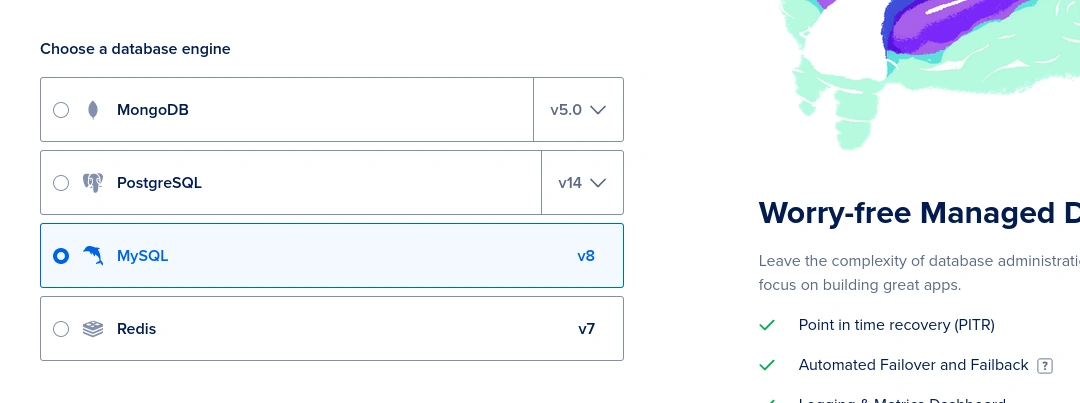
At this moment there is no other option available for the MySQL server version. Since the available only option is the latest v8 version, it should not be a problem as well. If you are using a very old Laravel application which does not support MySQL v8, you will need to upgrade it first.
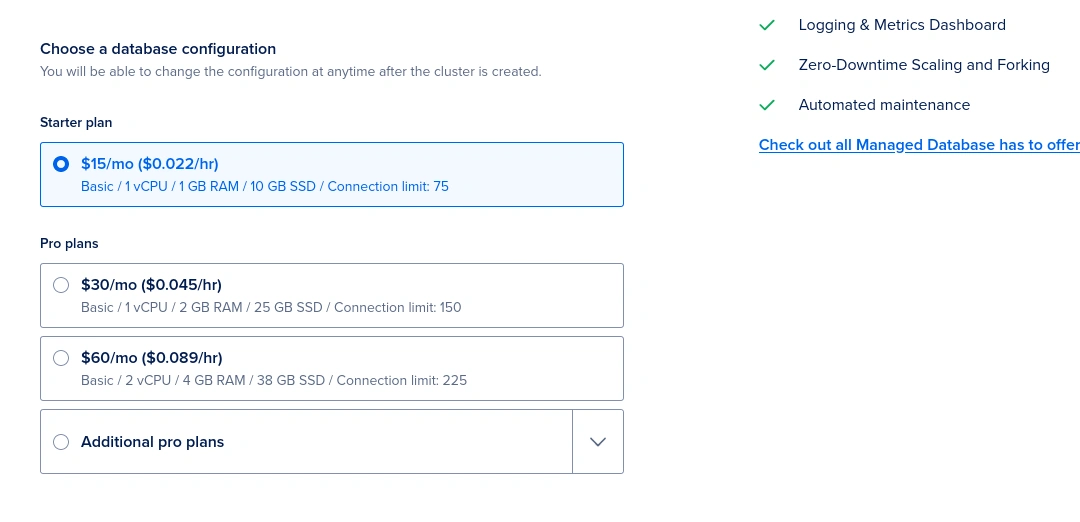
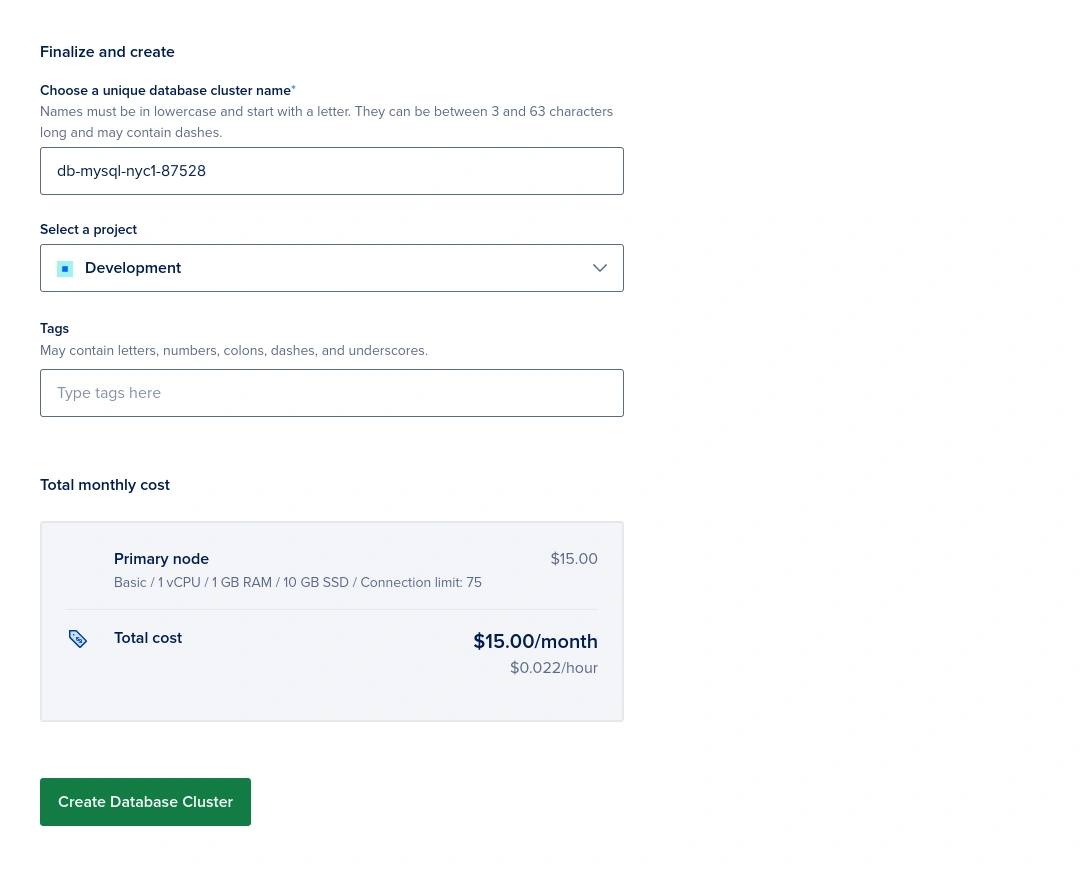
For this tutorial, we will be using the $15/month plan. Of course, as mentioned earlier, you can always upgrade it at any time without any problem.
Finally, if you need, you can give your MySQL database cluster a name or otherwise leave it as it is. However, it is worth mentioning, at this moment there is no direct way to rename a database cluster once it is created. You can change tags at any time.
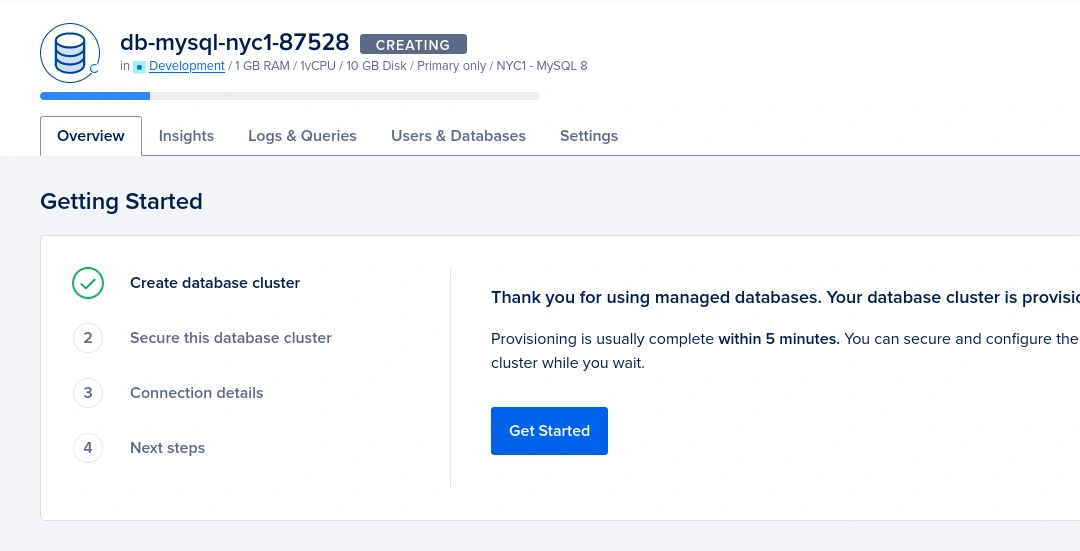
Once you have selected your options, click on the “Create Database Cluster” button to create your new MySQL database server. It will take 2~3 minutes to create the database.
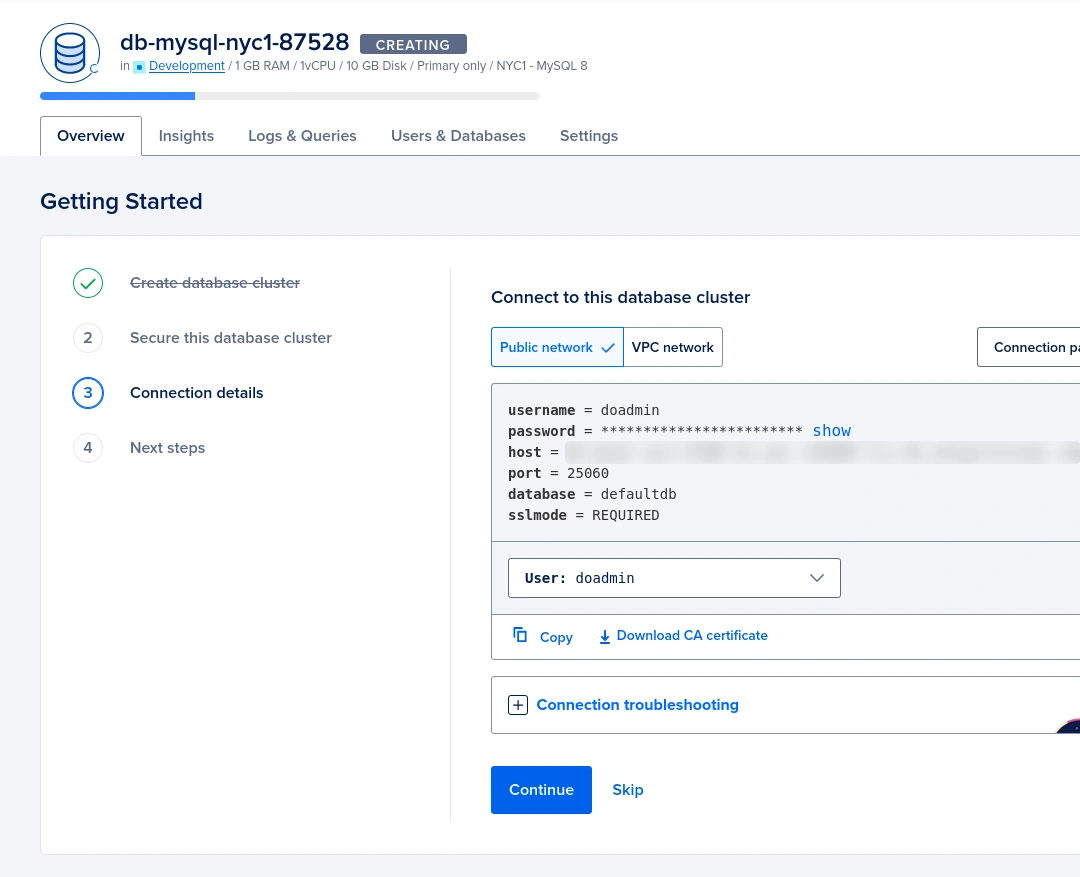
Meanwhile, you can set up and secure your database, click “Get Started”.
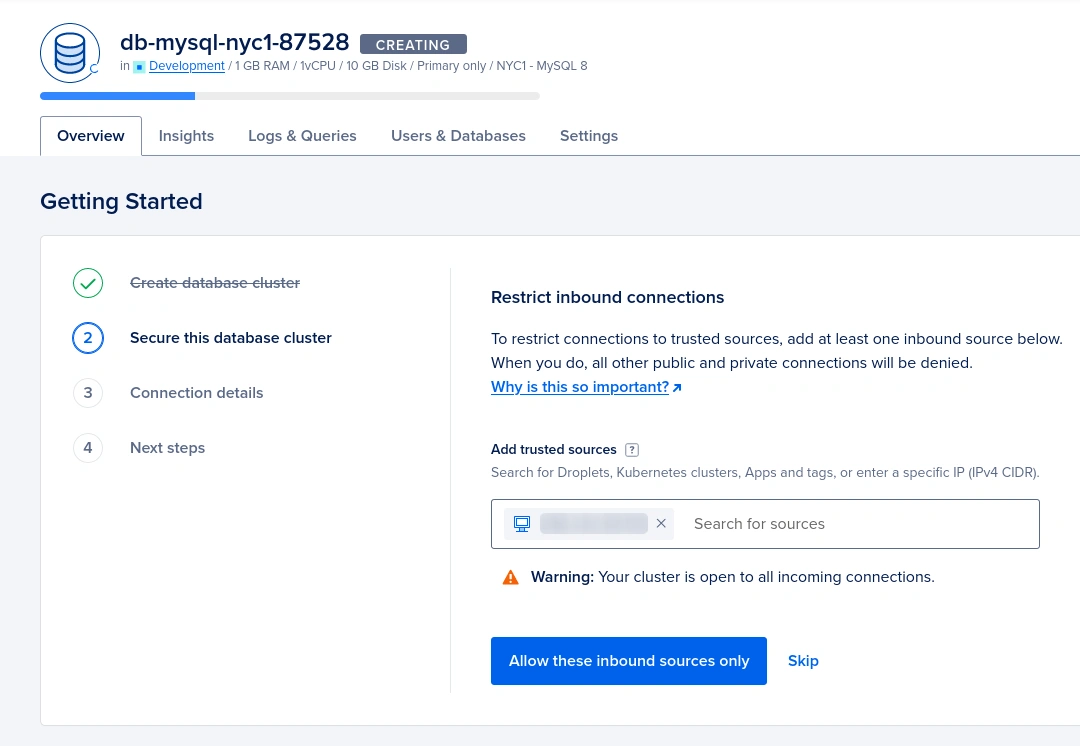
We can restrict incoming connections to the database cluster by whitelisting IP addresses. By default, it will list your current public IP address. You can add it by selecting from the list. Otherwise, you can simply skip this step so the database cluster will be accessible from any IP address.
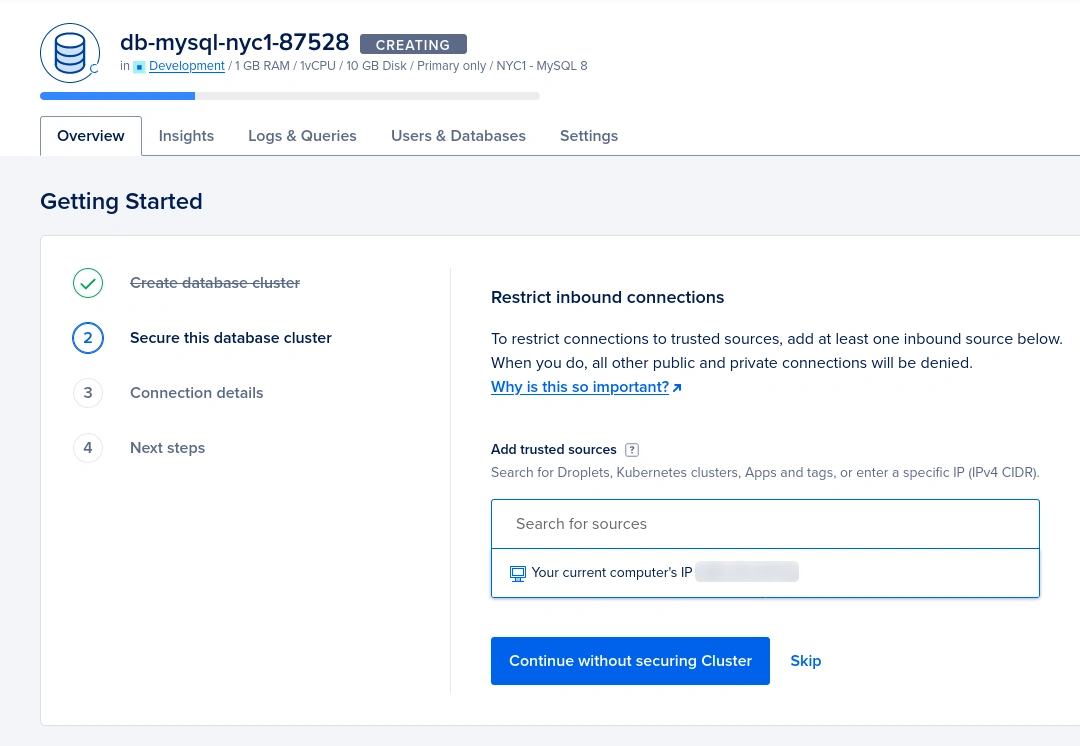
Also, you can add other IP addresses to the whitelist.
Next, you will be able to see the database connection details. We will use them later in our Laravel application.
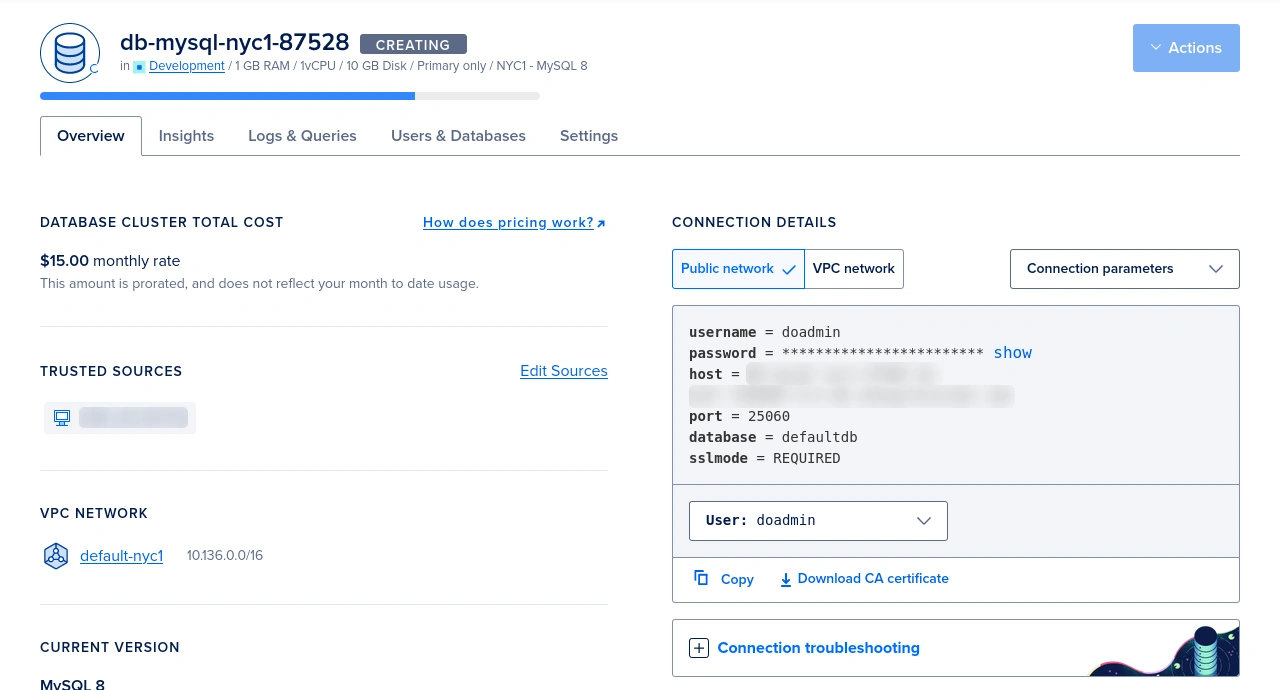
Once your database is created, you will be redirected to the database overview page. Here, you will find all the connection details for your database, including the trusted IP addresses, hostname, port, database name and CA (Certificate Authority) certificate.
Configuring Your Laravel Application
DigitalOcean Managed MySQL databases will not work with Laravel applications by just copying and pasting the database connection details. We need to change some settings and configure the Laravel application for that. First, open the config/database.php file and add the 'ssl_mode' => env('SSL_MODE'), line. Make sure that you are editing the mysql array.
// config/database.php
'mysql' => [
    'driver' => 'mysql',
    'url' => env('DATABASE_URL'),
    'host' => env('DB_HOST', '127.0.0.1'),
    'port' => env('DB_PORT', '3306'),
    'database' => env('DB_DATABASE', 'forge'),
    'username' => env('DB_USERNAME', 'forge'),
    'password' => env('DB_PASSWORD', ''),
    'unix_socket' => env('DB_SOCKET', ''),
    'charset' => 'utf8mb4',
    'collation' => 'utf8mb4_unicode_ci',
    'prefix' => '',
    'prefix_indexes' => true,
    'strict' => true,
    'engine' => null,
    'ssl_mode' => env('SSL_MODE'),
    'options' => extension_loaded('pdo_mysql') ? array_filter([
        PDO::MYSQL_ATTR_SSL_CA => env('MYSQL_ATTR_SSL_CA'),
    ]) : [],
],
Now click the Download CA certificate in the Overview tab to download the CA certificate file.
Save it in the storage/certs directory in your Laravel application.
Then open the .env file in your Laravel application’s root directory and change the following lines accordingly. Make sure to add SSL_MODE and MYSQL_ATTR_SSL_CA as they are not available in new Laravel applications.
<!-- .env -->
DB_CONNECTION=mysql
DB_HOST=db-mysql-nyc1...db.ondigitalocean.com
DB_PORT=25060
DB_DATABASE=defaultdb
DB_USERNAME=doadmin
DB_PASSWORD=AVNS...N9OS
SSL_MODE=required
MYSQL_ATTR_SSL_CA=./storage/certs/ca-certificate.crt
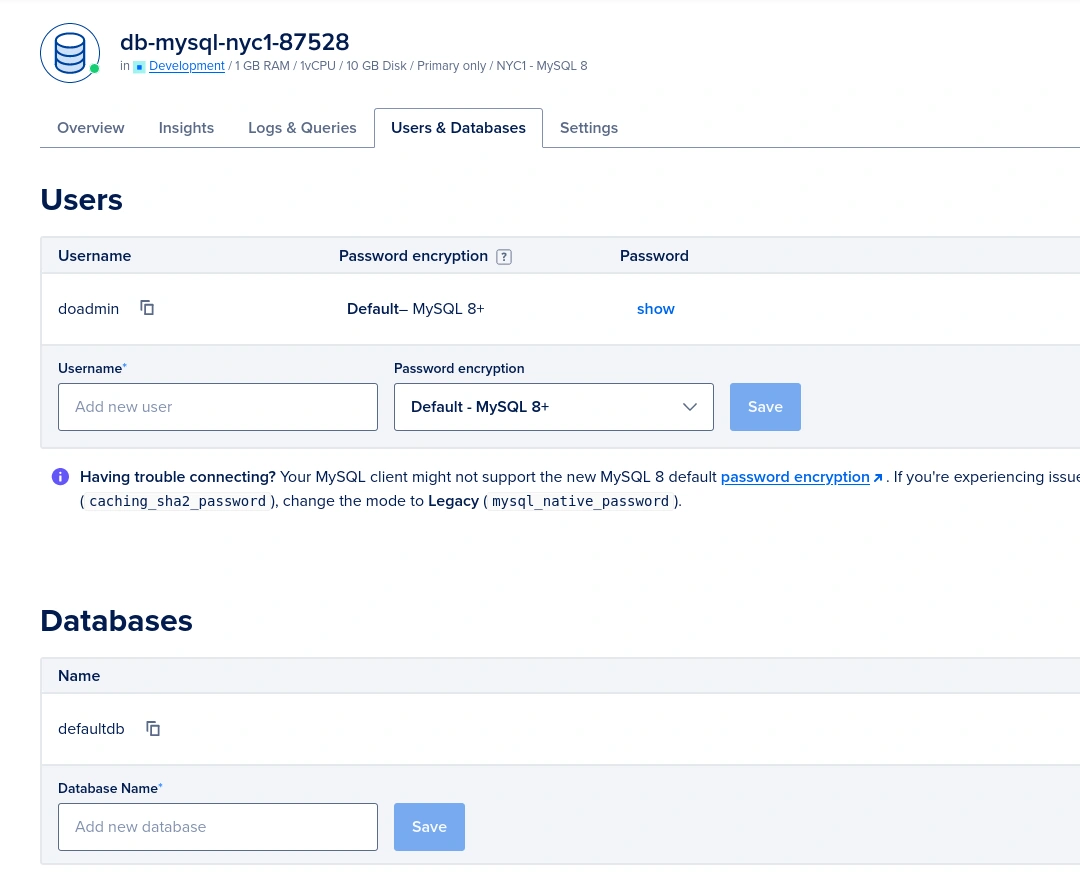
Replace the values with the actual values from your DigitalOcean Managed MySQL database. The password field is hidden by default in the DigitalOcean dashboard, you can use the show link in Overview and Users & Databases tabs to reveal the password. Also, you may create additional databases and database user accounts as necessary in the Users & Database tab.
Migrating Tables
Once your application is properly configured and stored the CA certificate file in the storage/certs directory to use the DigitalOcean Managed MySQL database, you can use the Laravel Artisan Command Line Interface (CLI) to migrate your tables.
Open a terminal window and navigate to your Laravel application’s root directory. Then, run the following command:
php artisan migrate
How to fix DigitalOcean sql_require_primary_key error
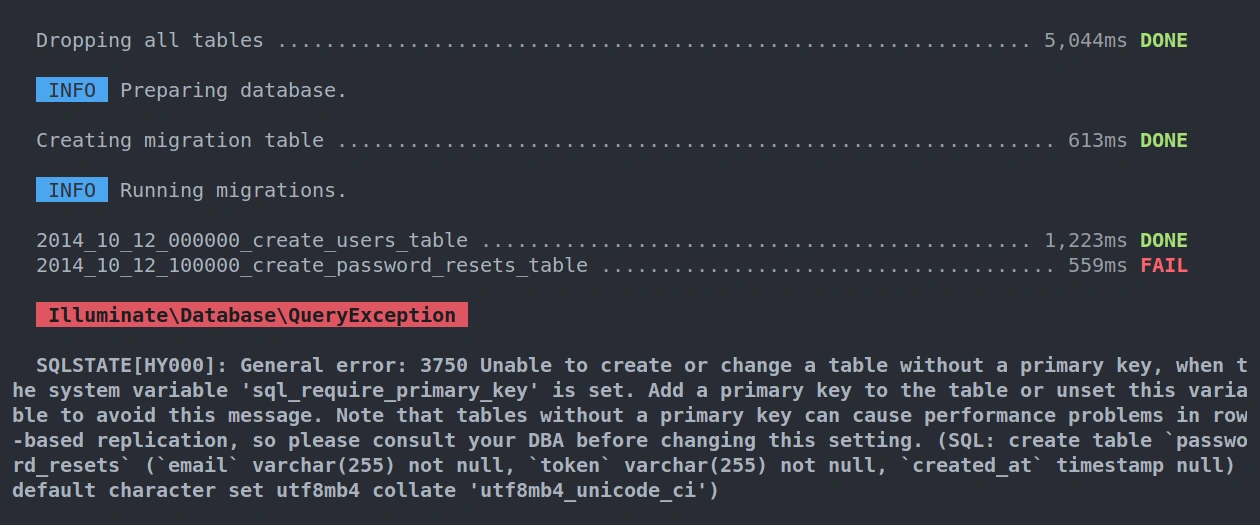
Most of the time you will get an error message something similar to the one below.
SQLSTATE[HY000]: General error: 3750 Unable to create or change a table without a primary key, when the system variable 'sql_require_primary_key' is set. Add a primary key to the table or unset this variable to avoid this message. Note that tables without a primary key can cause performance problems in row-based replication, so please consult your DBA before changing this setting. (SQL: create table `password_resets` (`email` varchar(255) not null, `token` varchar(255) not null, `created_at` timestamp null) default character set utf8mb4 collate 'utf8mb4_unicode_ci')
This error happens due to a restriction imposed at DigitalOcean to avoid database table creations without a primary key. Fortunately, we can temporarily bypass this restriction. First, you need to identify the related migration file. You can easily identify it by running the php artisan migrate command. It will display the failed migration.
Open the related files in the database/migrations directory and add SET SESSION sql_require_primary_key=0 line before the Schema::create line of the migration files like below.
return new class extends Migration
{
    // ...
    public function up()
    {
        Illuminate\Support\Facades\DB::statement('SET SESSION sql_require_primary_key=0');
        Schema::create('password_resets', function (Blueprint $table) {
            // ...
        });
    }
    // ...
};
Now try again to run migrations with the php artisan migrate command. This will create all of the tables in your MySQL database defined in your migrations. This time all the migrations should run without any issues.
Optional: Testing The DigitalOcean Managed MySQL Database Connection
Technically, at this moment you should be able to handle all the MySQL database operations. However, if you need you can test your MySQL database connection by running some random queries in tinker or a comfortable place like in a route or controller file.
php artisan tinker
Create 5 random users, it will display the created users after creating them.
User::factory(5)->create()
Exit from tinker by pressing [Ctrl] + [C]. Then run php artisan tinker and run the following commands. It should display the previously created users.
User::inRandomOrder()->first()
User::count()
Conclusion
In this tutorial, we have shown you how to use the DigitalOcean Managed MySQL database with a Laravel application. We have covered how to create a DigitalOcean Managed MySQL database, how to configure your Laravel application to use the database and how to troubleshoot and test your connection. With these steps, you should be able to easily set up and use a DigitalOcean Managed MySQL database with your Laravel application.
Tip! DigitalOcean is giving away $200 free credits to build apps, host websites and explore many other services of their platform. Sign-up now!