How to Install Laravel 8 on Ubuntu 20.04 LTS

Laravel is a PHP based, MVC (Model View Controller) open source framework which let you to create modern full stack web applications easily. It is created by Taylor Otwell and contributed by thousands of developers around the world. It is actively maintained with frequent updates and bug fixes. Currently, it has more than 66,000 stars and 21,000 forks in its Github repository. It has all the tools you need to develop a modern web application quickly. It is rich with many useful tools and features like Artisan CLI, Tailwind CSS, Blade template engine, Eloquent ORM (Object Relational Mapping), database migrations, seeding, caching, email, unit testing and more. In addition to that, it has an array of products and services built around its ecosystem. So, Laravel is more than just a framework.
In this article we are going to explain how to install Laravel 8 on Ubuntu 20.04 LTS for a development environment which can be used to develop Laravel 8 applications. In addition to that, the directory hierarchy and the MySQL database configuration will be explained.
System Requirements
In order to run Laravel 8, we need the LAMP (Linux, Apache, MySQL, PHP) stack, Composer dependency manager and NPM. You can create a new Laravel project you already have them, or otherwise, you can read our comprehensive step-by-step guides on LAMP (Linux, Apache, MySQL, PHP) stack, Composer and NPM installation and Ubuntu 20.04 LTS installation for more information.
Create A New Laravel Project
There are many methods that we can use to install Laravel. For this guide, we explain two of the popular methods using the Composer and Laravel Installer. You can use either way you feel comfortable.
Composer
Open a terminal window and enter following command, it will create a new Laravel 8 project under the “hello-world” directory". This “hello-world” part is the name of the project, you can you anything you want.
composer create-project laravel/laravel hello-world
Laravel Installer (Optional)
Laravel Installer is a CLI (Command Line Interface) based tool which also can be used to create Laravel projects. Still, under the hood it uses the same Composer dependency manager. But you do not need to type a long command every time when you create a new Laravel project.
Enter the following command, it will install the Laravel Installer as a global package so you can access it anywhere.
composer global require laravel/installer
Previous command will do the installation of the Laravel Installer, but still you will not be able to use it. Because it is not set as an environment variable. For that enter the following command.
echo "export PATH=$PATH:$HOME/.config/composer/vendor/bin" >> ~/.bashrc
Use following command to apply changes immediately.
source ~/.bashrc
Now you should be able to create new Laravel projects using this short command. Again, the “hello-world” part is the name of your project and you can use whatever you want for that.
laravel new hello-world
Laravel Directory Hierarchy
Laravel has a well organized file hierarchy which directly helps to the development of the application. It has dedicated directories and files to store its configurations, database structure, routes, models, views (pages), controllers, tests and so on. Before going further, we need to understand the common and most essential parts of a Laravel application.
Type following command to go in to the project directory.
cd hello-world
Enter ls (simple L and simple S) to list files and directories.
ls
App Directory
You might already heard about MVC (Model, View, Controller) design pattern. Mainly we store the controllers under this directory. Additionally, we use this app directory to store custom commands, exceptions, middleware, request validations, models and service providers.
Config Directory
Laravel has two type of configurations. One is hard-coded configurations and the other one is environment based configurations. This config directory contains all the hard-coded configurations like the name, environment, timezone and the database connection of the application.
Database Directory
As its name explains, mainly this database directory contains the structure or the schema of the database. Additionally, it contains factories and seeders which use to generate dummy data to fill the database.
Public Directory
When we host the application, this public directory must be used as the document root directory.
Resources Directory
Mainly, we store views (pages) under this resources directory. Additionally, we can add our CSS and JavaScript files under this directory.
Routes Directory
Application URL structure is organized in this directory.
Examples:
- /blog
- /dashboard/admin
- /about
- /contact-us
- /api/v3/
Storage Directory
Log files of the application are stored under this storage directory. Additionally, user uploaded files, cache and session files are stored under this directory.
Tests Directory
Last but not least, application unit tests and feature tests are stored under the tests directory.
Run Your First Laravel Application
We have installed Laravel and we have a basic knowledge about it. So it is time to run it, open a terminal window and run the following command.
php artisan serve
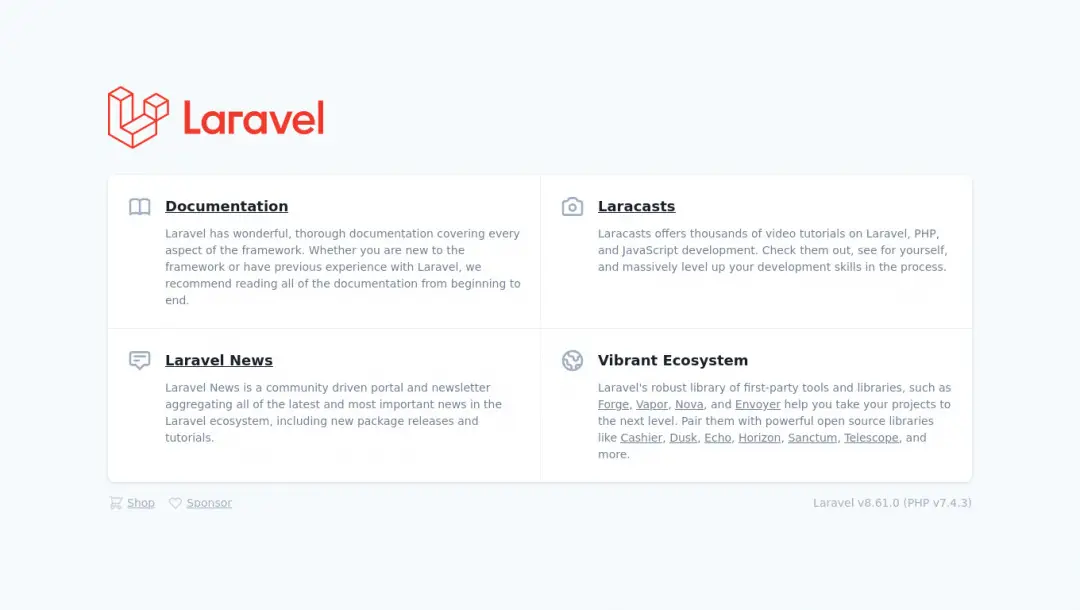
Now you will be able to see the following welcome page by visiting http://localhost:8000 from your web browser.
Conclusion
In this beginner-friendly guide, we explained a little background of Laravel. Then, mainly we discussed how to create a Laravel project using the Composer and Laravel Installer. After that, we explained the purposes of most essential directories in Laravel. Finally, we discussed how to run a Laravel application. What do you think about this guide? Were there something we missed or need further explained? Let us know your thoughts in the comments section.