How to Install Ubuntu 20.04 LTS (For Beginners)
The installation process of Ubuntu 20.04 LTS (Focal Fossa) can be a bit challenging, especially for people who are not much familiar with Linux environments. In worst cases, it can cause data deletions, file corruptions or even complete system boot failures. This guide is focused on beginners and previous Ubuntu or any other Linux experience is not necessary. After following this guide, you will be able to install Ubuntu 20.04 LTS on your desktop computer or laptop by yourself.
As mentioned earlier, this process can be critical. So make sure to keep the following things in your mind.
- This guide is mainly focused on fresh Ubuntu 20.04 LTS installations. That means your computer should not have any OS (Operating System) or otherwise if exist it can be unusable anymore.
- All partitions, files, folders, pictures, songs, movies or anything else on the hard disk will be permanently deleted during the installation process.
- Before proceeding, backup all the valuable files into an external data storage media such as a hard disk, USB disk or optical disk like DVD and keep them in a separate, safe place.
TLDR:
You can directly proceed to the Installation section of this guide if you already know the basics, like how to download and burn the image into a USB disk.
What Is New In Ubuntu 20.04 LTS?
Ubuntu 20.04 LTS released in April 2020 and free security and maintenance updates will be provided for five years (until April 2025). Honestly, it doesn’t bring any groundbreaking, revolutionary or controversial changes to the table when compared with the previous release. But that doesn’t mean you should not try it. There are some notable improvements.
Usually, the Canonical team doesn’t include all the latest features with their LTS (Long Term Support) releases. Instead, they try to improve the stability of the system by carefully selecting stable packages.
- Linux kernel 5.4
- Gnome 3.36 ( release notes )
- Python 3.8.5
- ZFS support
- Improved Thunderbolt support
- Light, dark and standard theme variants
- Remarkable startup performance improvements
- “Do Not Disturb” mode
- Ability to disable the dock
- X11 fractional scaling toggle
- The Amazon app was removed from the dock
- Software Center installs Snap packages
You can find more information about this release in their blog post.
Ubuntu 20.04 LTS System Requirements
Canonical recommends the following requirements to install Ubuntu 20.04 LTS.
- 2 GHz dual-core processor
- 4 GB RAM
- 25 GB of free space
- Internet access
- A DVD drive or a USB port for the installation
However, according to our tests, we noticed it’s possible to install and run it on lower hardware as well. Even though, practically, there’s nothing much we can do only with the OS and its stock apps. We need to install a lot of other applications according to our requirements. So it’s always better to use a good processor, at least 8 GB RAM and more than 40 GB of free hard drive space.
Download Ubuntu 20.04 Installation ISO Image
Canonical provides the installation ISO file in two methods and they are direct download link and torrent download. The main difference between them is, you can download the direct download link without installing additional tools. But if you are using torrent, first, you need to download and install a torrent client. Then you need to download the torrent file which contains the necessary information to download the actual ISO file from seeders around the world.
Direct Download
Go to the official Ubuntu 20.04 LTS download page and click the download button. It will start to download the ISO file. Make sure to use a broadband or un-metered Internet connection as you need to download approximately 2.7 GB of data.
Torrent Download
Go to the alternative download page and scroll down until you see “BitTorrent”. Click the “Ubuntu 20.04 Desktop (64-bit)” link under “Ubuntu 20.04 LTS”.
ISO Image Verification (Optional)
When you download a file over the Internet, it can be corrupted due to many reasons such as Internet connection problems, hardware or even software faults. If we used such a corrupted ISO file, it could be the root cause of a problem in the future.
So to overcome this problem, we use a thing called checksum verification. The checksum is a mathematical algorithm that generates a random yet super-unique text from the given information. There are many checksum algorithms such as md5 (Message Digest 5) and SHA256. For example, if we generated SHA256 checksum hashes for both words “Earth” and “earth”, it would be something similar to this,
Earth = b7735697682c8b552abd34b0c44249114210c3a89d3b97a7341ef4640296ae95
earth = 7e8c5f378b4addbaebc70897c4478cca06009e3e360208ebd073dbee4b3774e7
A checksum is like a fingerprint of a person, it is unique only for one person. Likewise, once you generate a checksum against a particular file, you can use that checksum to check whether that file is changed or not. To verify, again you need to generate a checksum. If the file is 100% identical, we should get the same checksum for both scenarios. If the file has been changed at least by 1 bit, you will get a different checksum. Likewise, we need to generate the SHA256 checksum against the ISO file we downloaded. Many tools exist to generate checksum hashes. You can find a suitable tool in the official checksum verification guide according to your platform. Ultimately, if we get the same checksum hash mentioned in the “SHA256SUMS” file, we can accept that the ISO file is identical.
By the way, there’s no need to verify checksum if you have downloaded the ISO file using a torrent file as the torrent client automatically does it by itself. But still, you can do the verification and there is nothing bad about it.
Installation Media Preparation
First, you need to prepare the installation media. It can be either a burned DVD or a USB pen drive. If you are going to burn a DVD, the process is quite simple. All you need to do is use a CD/DVD writing software which usually comes with CD/DVD writer. Also, you can use free tools like ImgBurn or a commercial tool like Nero Burning ROM as well. Whatever you used, make sure to burn the DVD using the downloaded ISO image. Never select a data disk or similar option, it will never boot.
If you are using a USB pen drive, make sure it is at least a 4 GB drive. Download and install Rufus, an ISO to USB image writer app.
- Open Rufus and select your USB pen drive under the device list.
- Click the “SELECT” button and select the Ubuntu 20.04 LTS iso image file.
- Select the partition scheme as “MBR”.
- Select the target system as “BIOS or UEFI”
- Leave the volume label as it is.
- Leave the file system and cluster size as they are.
- Make sure everything is correct and click start.
If it displayed a window called “ISOHybrid image detected”, first select the recommended method. If you couldn’t boot using the USB pen drive, try again with the other method (DD image mode).
Rufus will take a few minutes to finish it and you will be able to see the current progress as well. Once it is finished you can restart the system.
BIOS (Basic Input/Output System) Setup
Usually, computers can be booted from various devices such as hard drives, CD/DVD drives, USB pen drives, floppy drives and networks. BIOS maintains this list and we can change their position or priority or even we can disable/ignore certain devices from the boot devices list. When booting, if BIOS couldn’t find the required information in its first device, then it checks for the next available device in the list.
So we must enter the BIOS setup and change its boot priority to take our USB pen drive as its first option. There is no specific key to enter the BIOS setup. Some systems display the exact key you need to press while booting. But every system does not display that message. Under that kind of situation, you can simply refer to your laptop/motherboard user manual for the key. Most of the time it should be one of the following keys F1, F2, F10, Delete, Esc, Ctrl + Alt + Esc or Ctrl + Alt + Delete. However, it is totally up to the system.
Once you entered the BIOS setup, the boot device list should be under a page something like “Boot”. Set a USB drive as its first option. It is difficult to describe more than that as different BIOS uses their own interfaces and menus. So refer to the laptop/motherboard manual for related instructions.
Installation
Once the system starts to boot from the Ubuntu 20.04 LTS DVD/USB drive you will see the following screen.
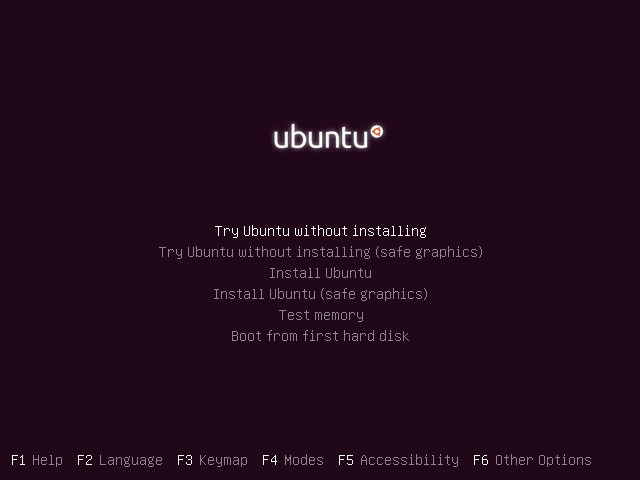
If you select the “Try Ubuntu without installing” option, it will start Ubuntu as a live OS. It is the safest and most secure method to check the features of the OS. Because it doesn’t write any file into your hard drive, instead it loads the entire OS from the system memory (RAM). Under this method, still, you will be able to test the OS, browse files and even install new apps and do experiments with them. The next option is “Install Ubuntu”, which will directly initiate the installation process of the OS.
You can go with whatever you want, but it is recommended to use the first option as it provides an extra opportunity to backup any important file that you may have missed. For this guide, the first option will be selected.
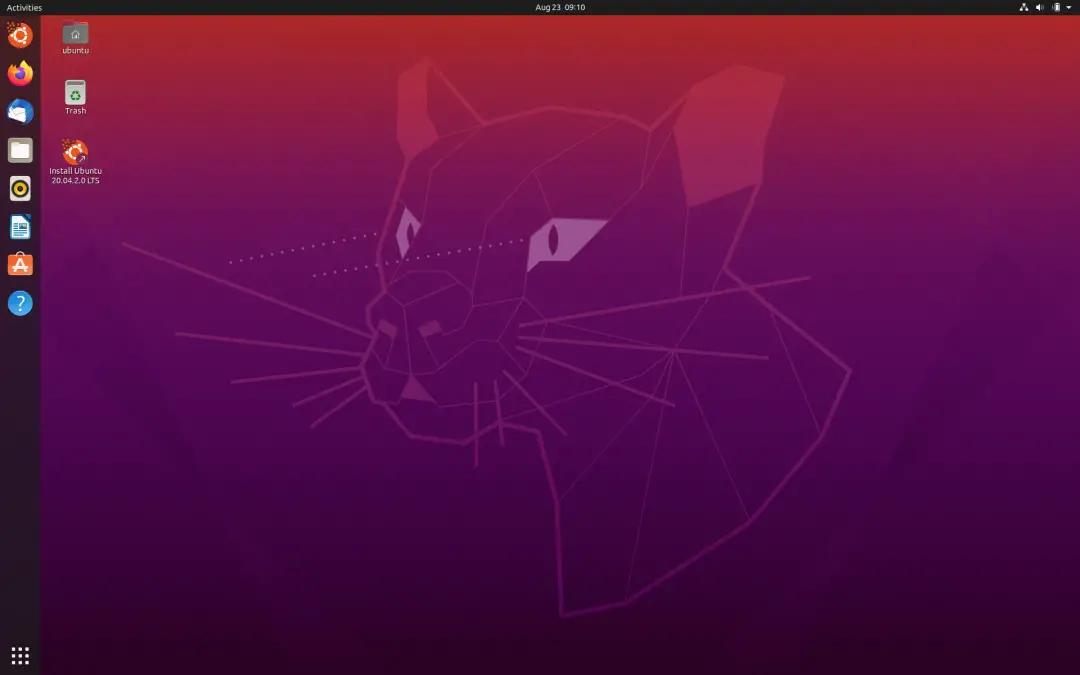
Roughly, it will take one or two minutes to land on the Ubuntu 20.04 LTS desktop. Now you can go here and there and check the system. Once you are ready, open the “Install Ubuntu 20.04 LTS” icon on the desktop to start the installation wizard.
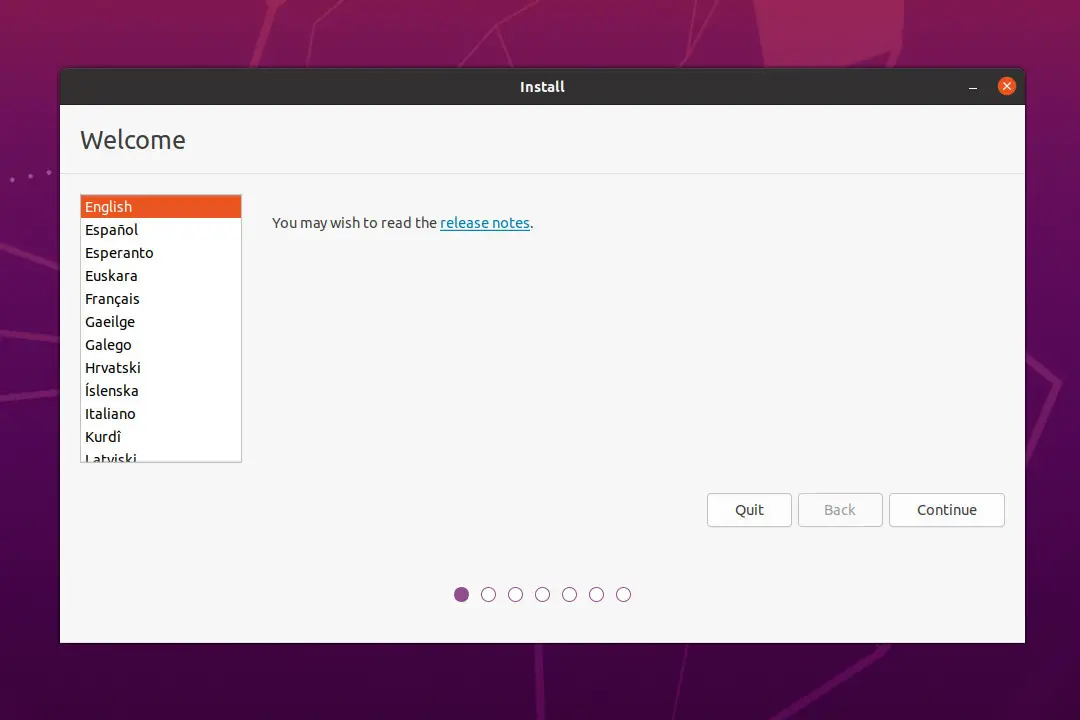
First, you need to select the preferred language for your OS.
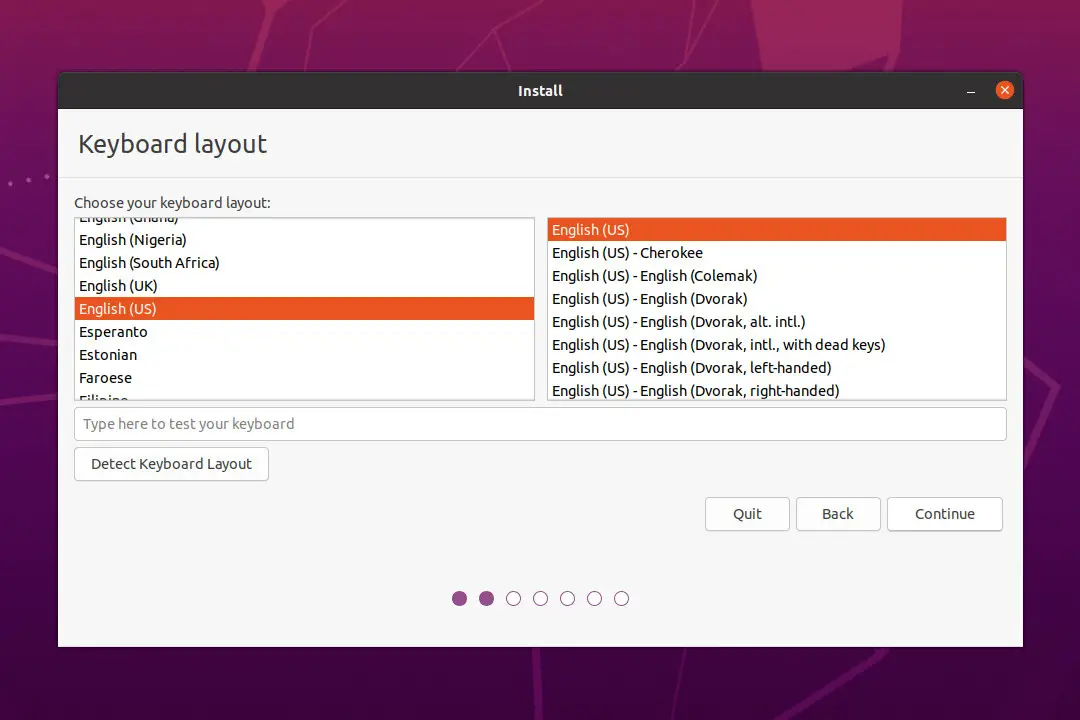
Select the keyboard layout.
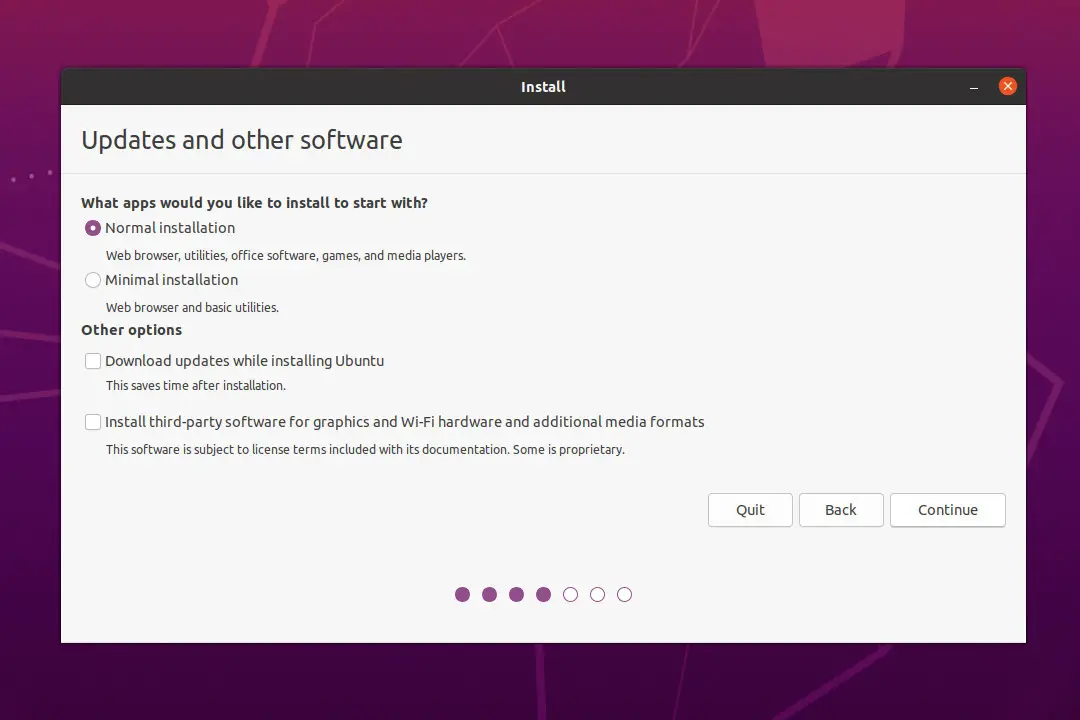
You can select whether you need additional applications like LibreOffice suite or not. No matter the normal or minimal installation you selected, you can install/uninstall any application later.
Both options, “Download updates while installing Ubuntu” and “Install third-party software for graphics and Wi-Fi hardware and additional media formats” are optional and if you select them, you will need a stable Internet connection to download them.
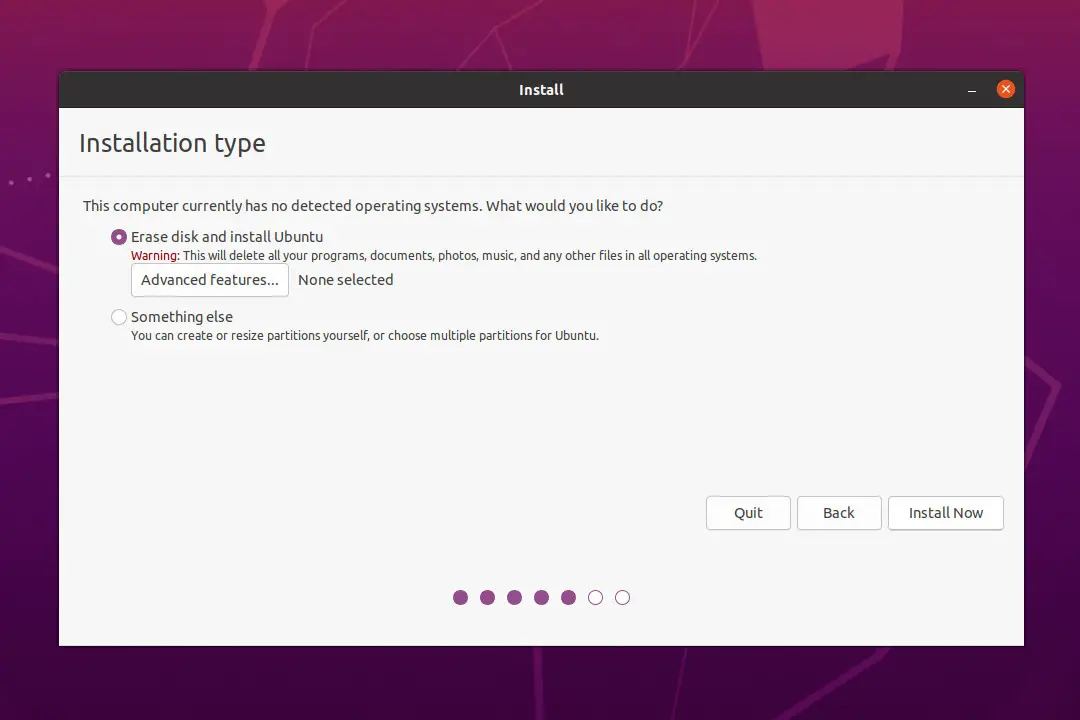
Select the “Erase disk and install Ubuntu” option. It will wipe the entire hard drive and create necessary disk partitions accordingly.
You can also select the “Something else” option. But you will have to create partitions by yourself, manually. Since this guide is mainly focused on beginners and partitioning is quite out of the scope of this guide. So it will be explained in a separate post.
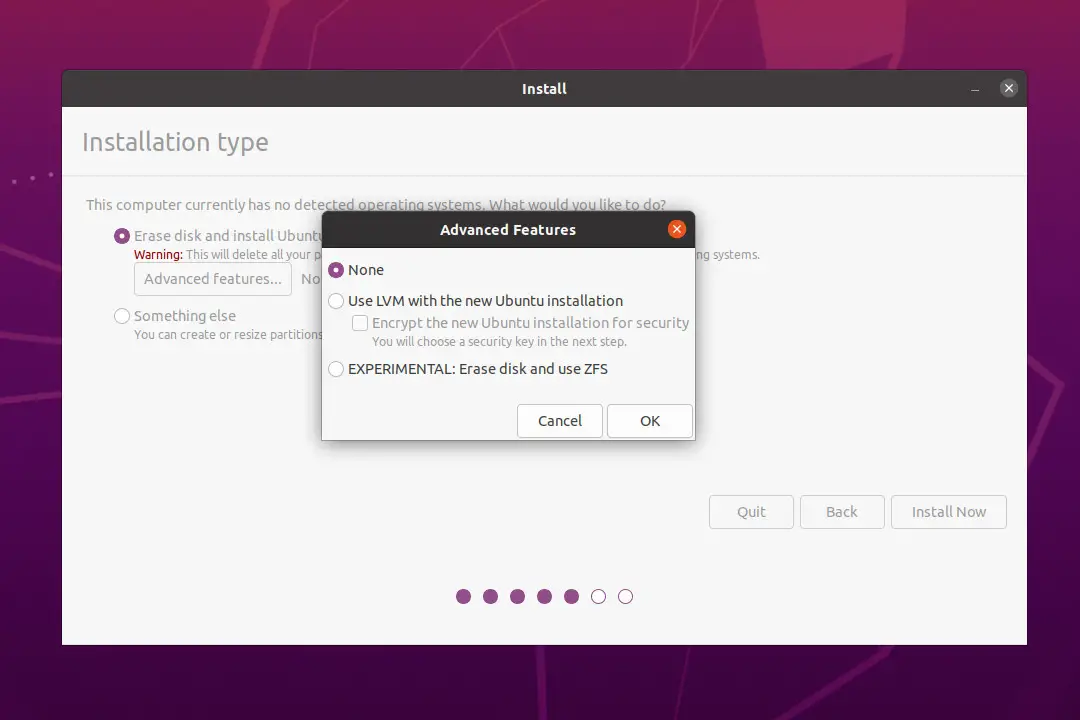
Additionally, this is optional but if you worry about the privacy of your files, Ubuntu 20.04 LTS let you encrypt the entire hard drive. Click the “Advanced features” button and select “Use LVM with the new Ubuntu installation”. Then check “Encrypt the new Ubuntu installation for security”. You will have to provide a secure password for that and then every time it will be asked when the OS boot. Keep in mind, if you forgot it, you will never be able to recover any file on the hard disk.
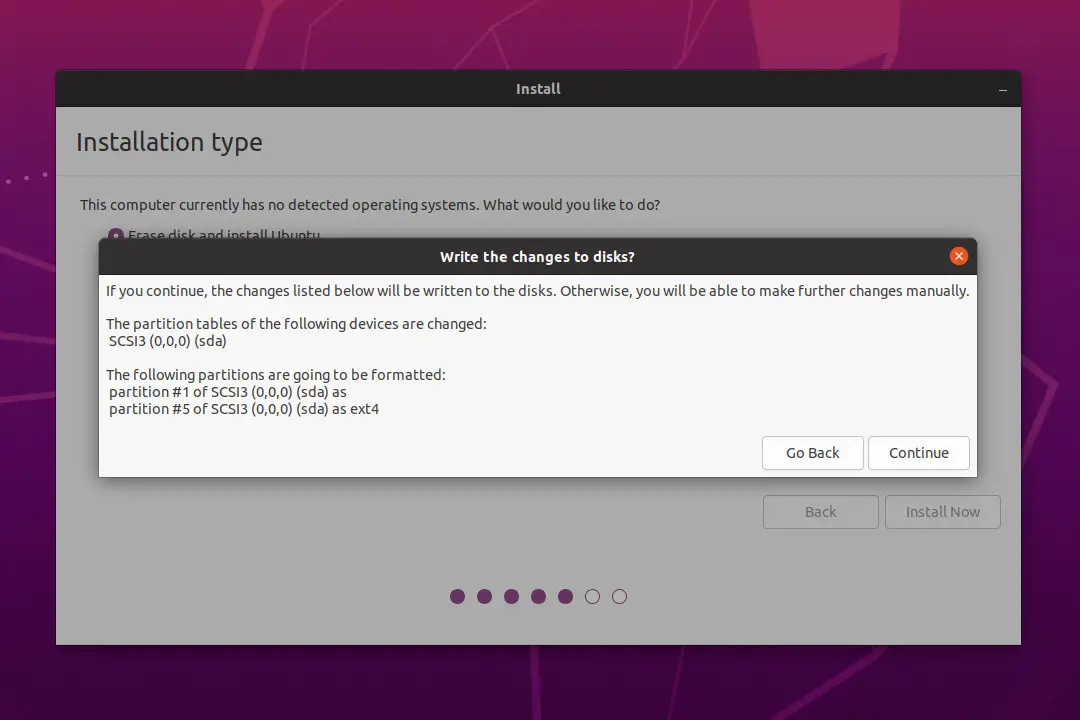
Next, you will have to confirm the partitions going to be formatted.
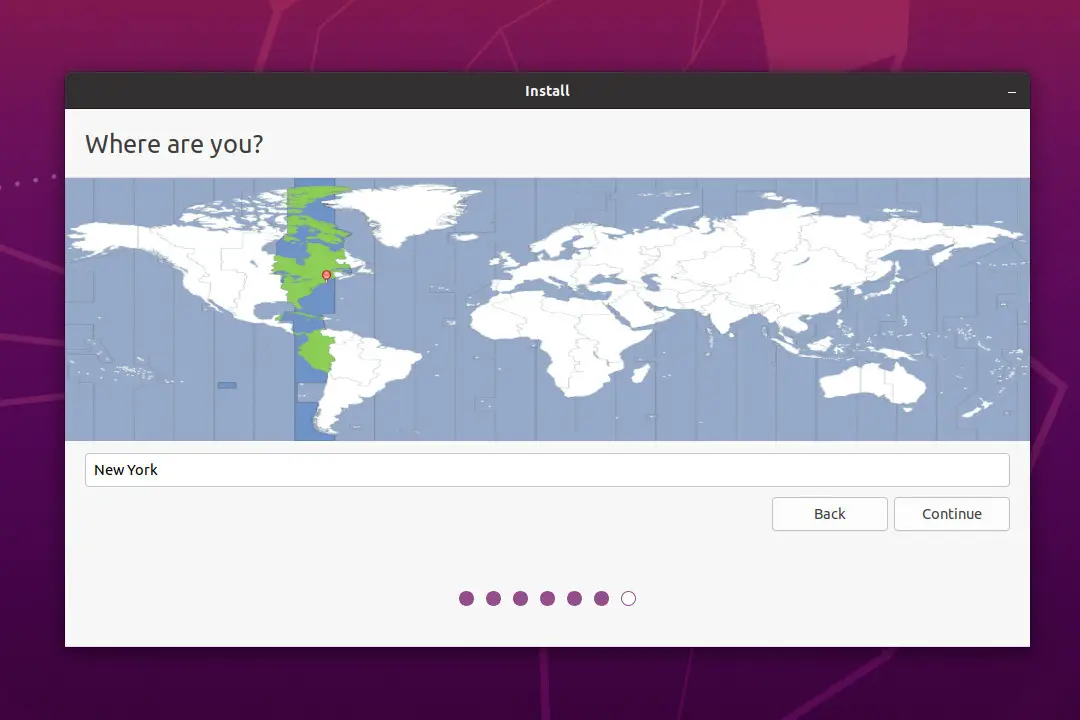
Select your location.
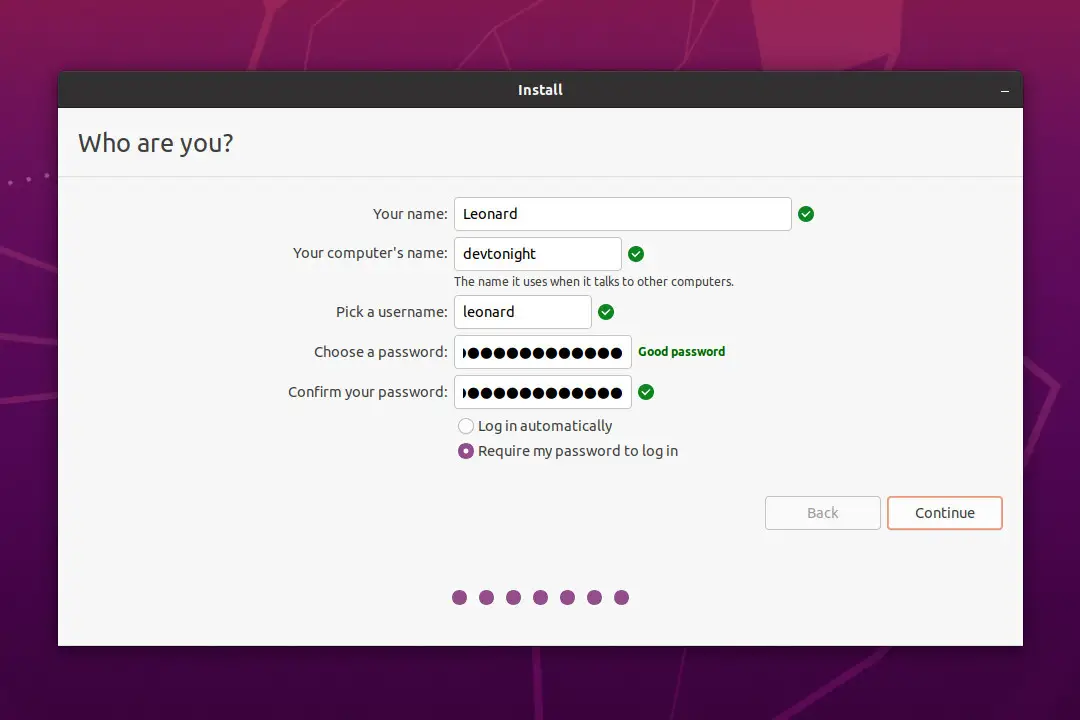
Finally, you need to provide your user account details. If you select the “Log in automatically” option, it will not ask for the password when you log in. However, it is recommended to use “Require my password to log in” as a convention but it is totally up to you to decide.
The installation process will start immediately and it will take a few minutes.

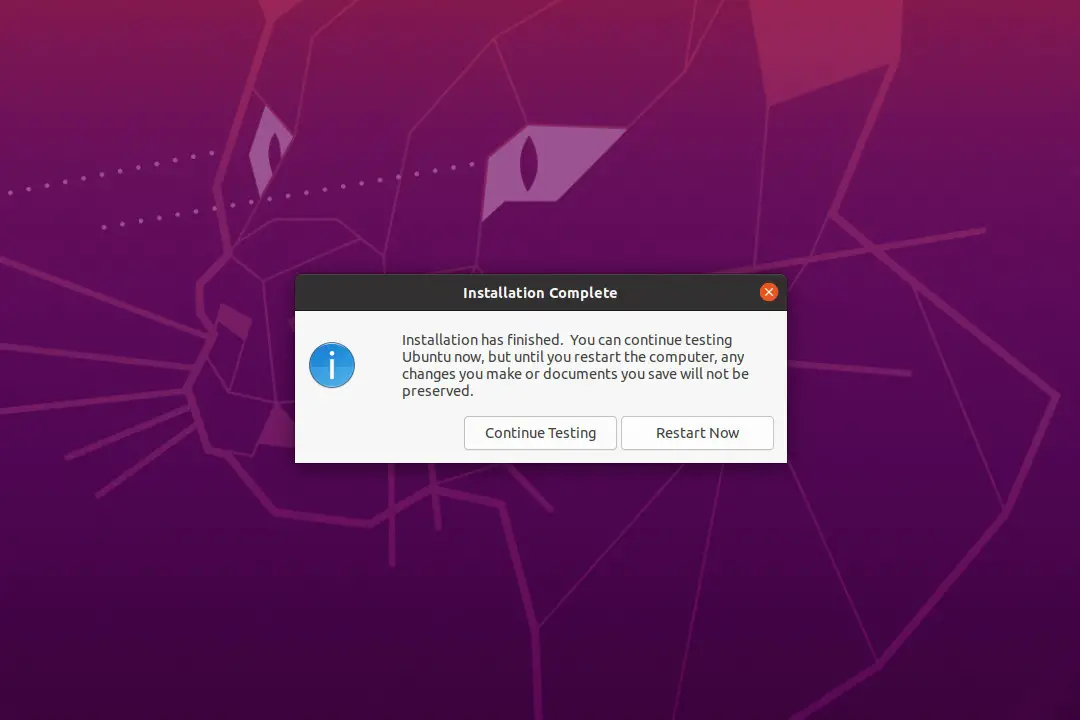
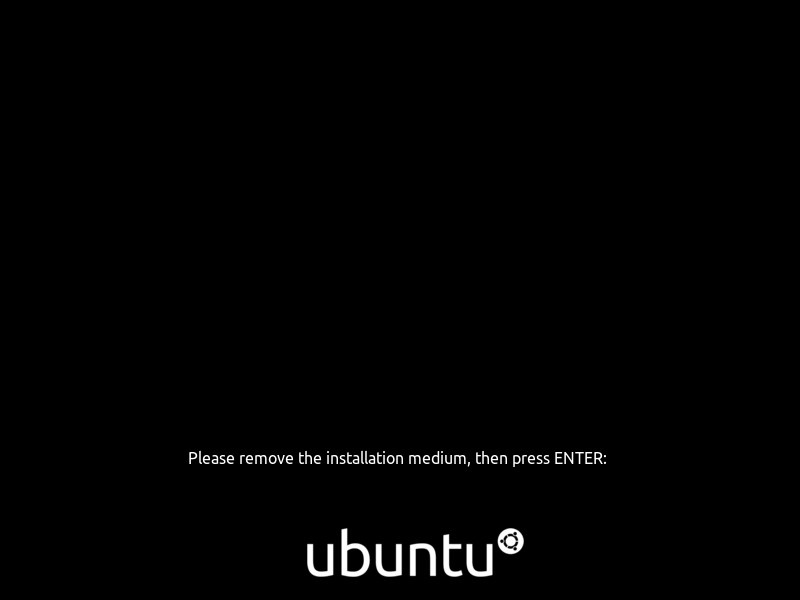
Once the installation is completed, you will see the following alert. You can either continue the live OS or otherwise simply restart the OS to the newly installed OS on your hard disk.
When you see this, safely remove the DVD/USB disk and press the [Enter] key.
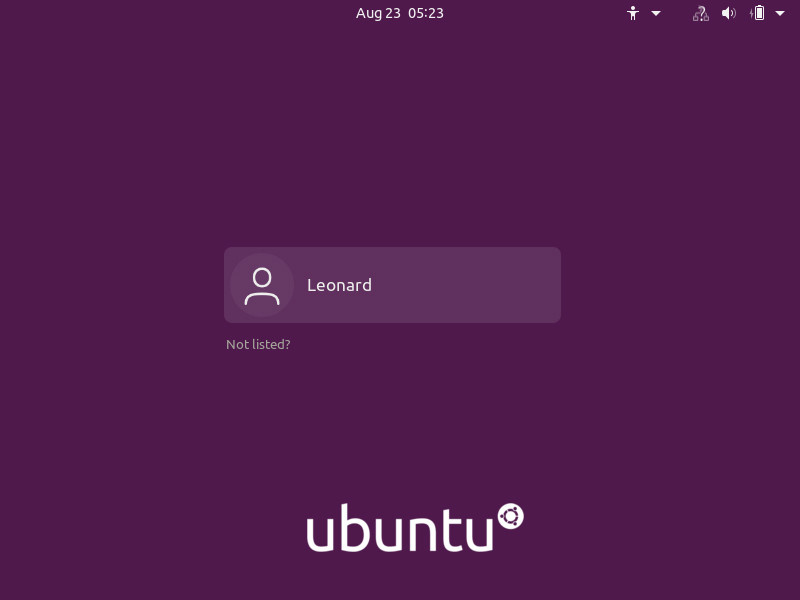
Again, you will see the following screen for a few seconds.

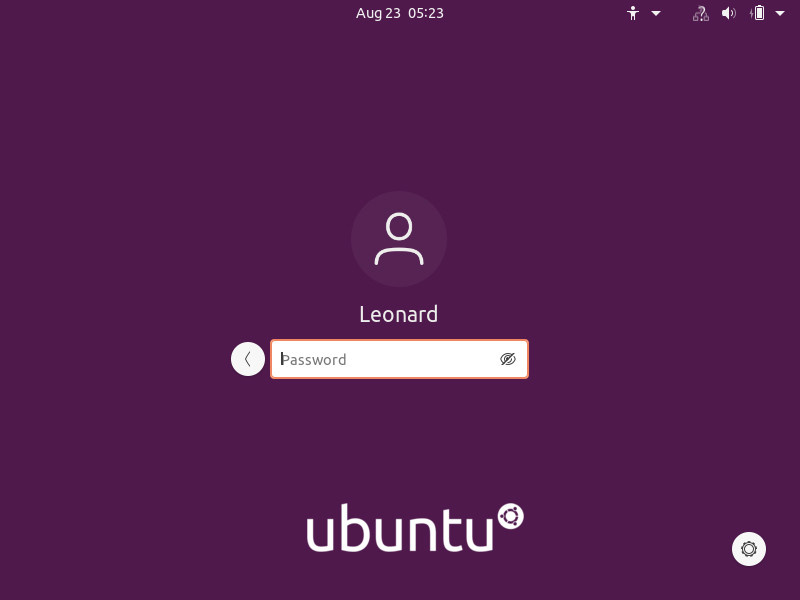
You will be able to see the user account that you created during the installation. Click it and type the password.
By default, the password will be masked with dots. But if you find it difficult, you can click the eye icon to reveal the password.
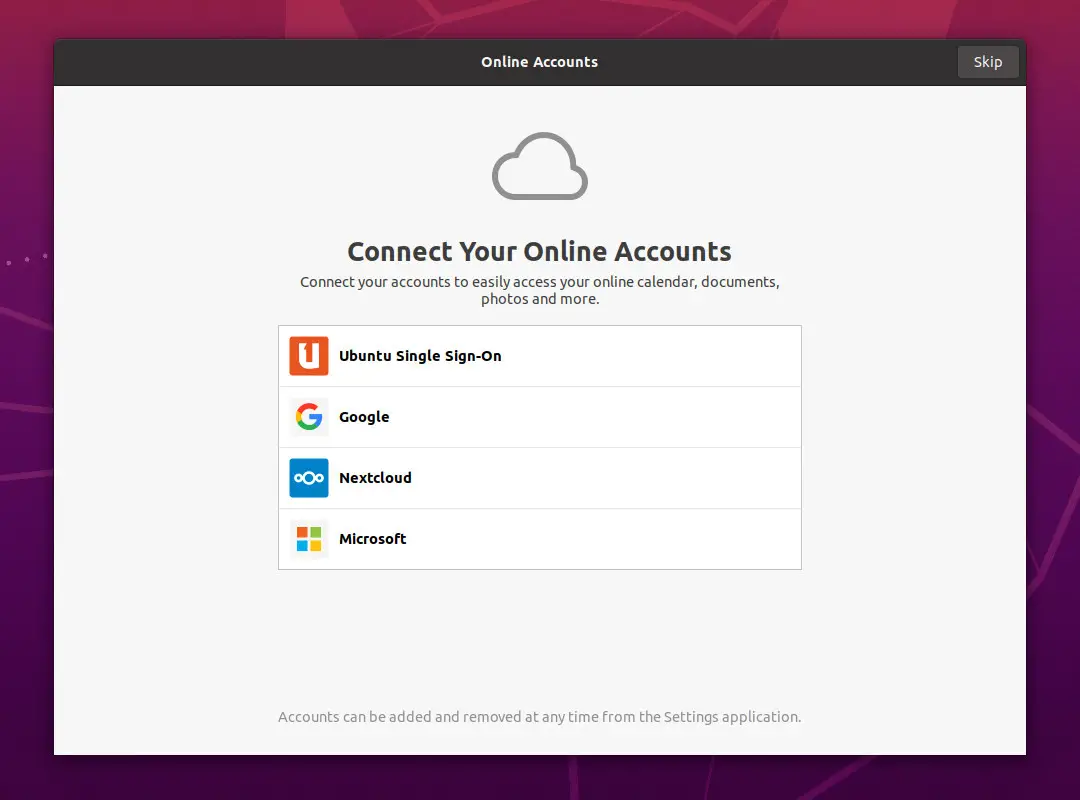
You can connect your accounts, but for now, just skip it.
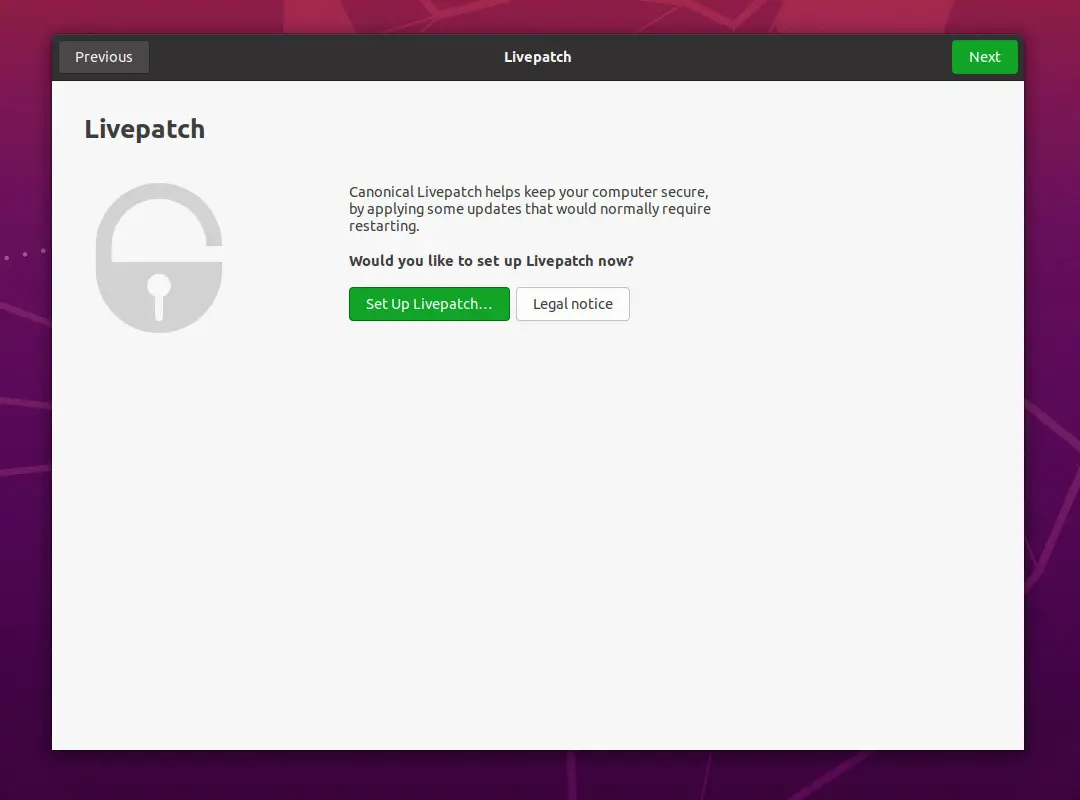
Livepatch is a service provided by Canonical which let you update your OS without restarting. Click next as we can update the OS without it.
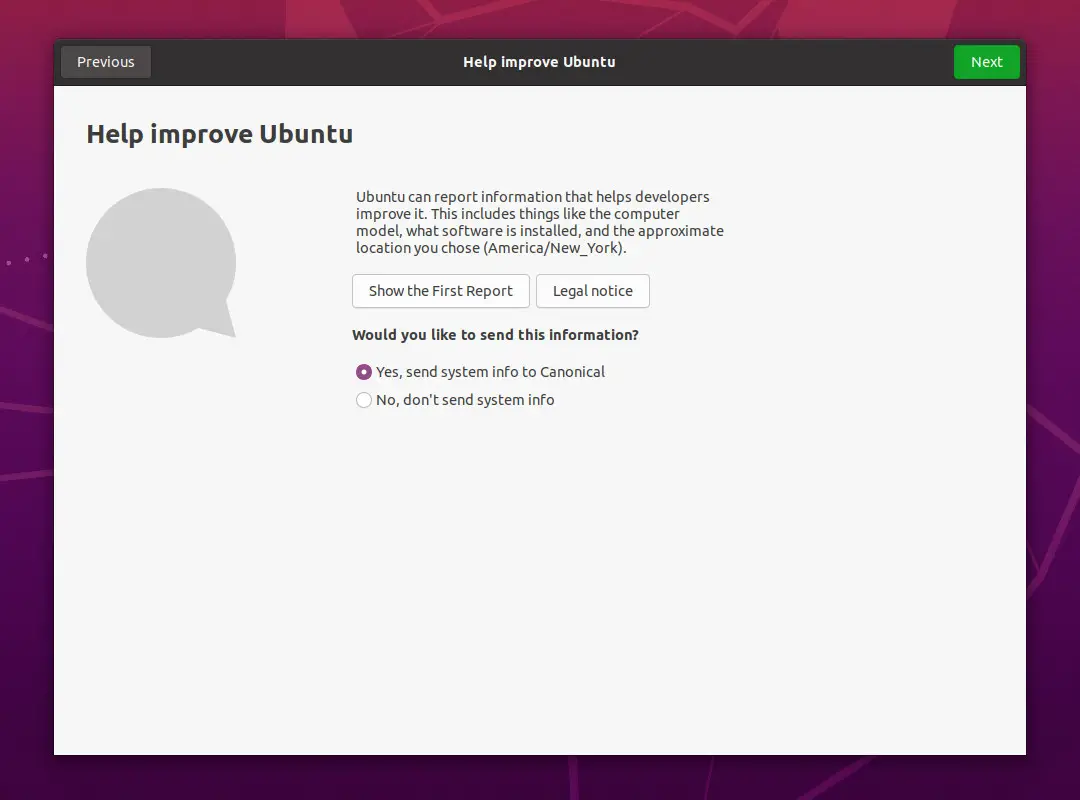
If you need you can provide some information about your system to Ubuntu developers. They will use them to improve their OS. You can also see what kind of information will be sent by clicking the “Show the First Report” button.
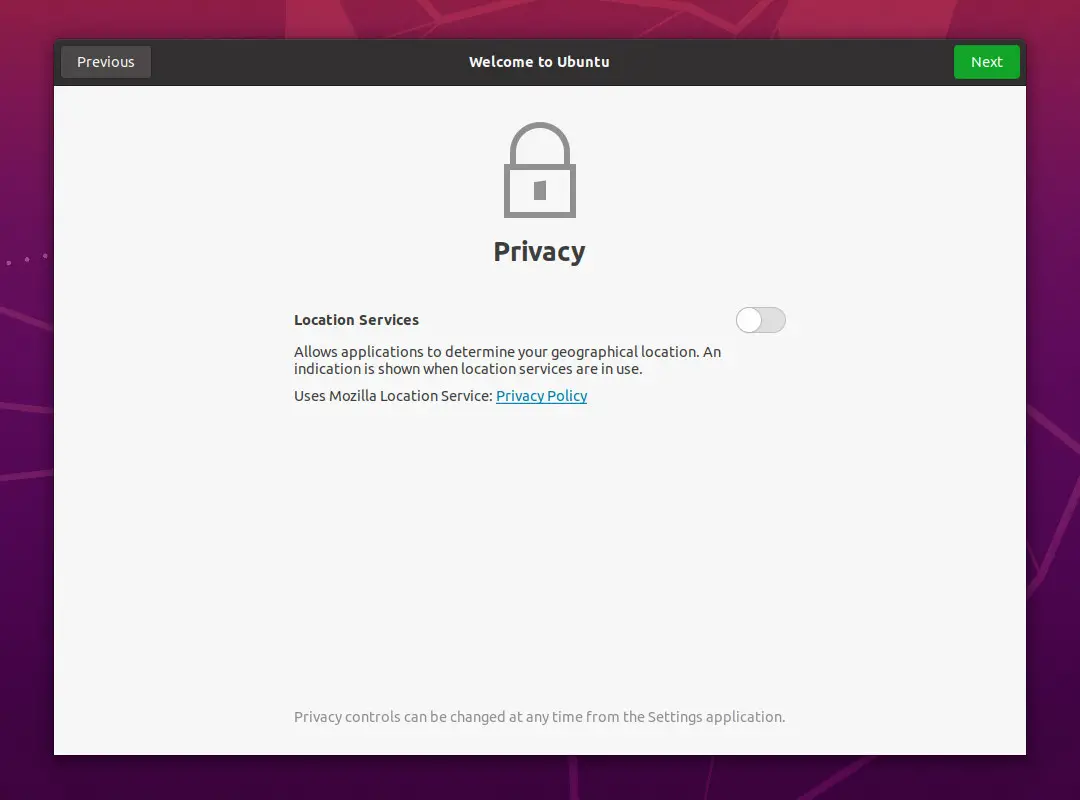
Leave “Location Services” disabled.
Click “Done”.
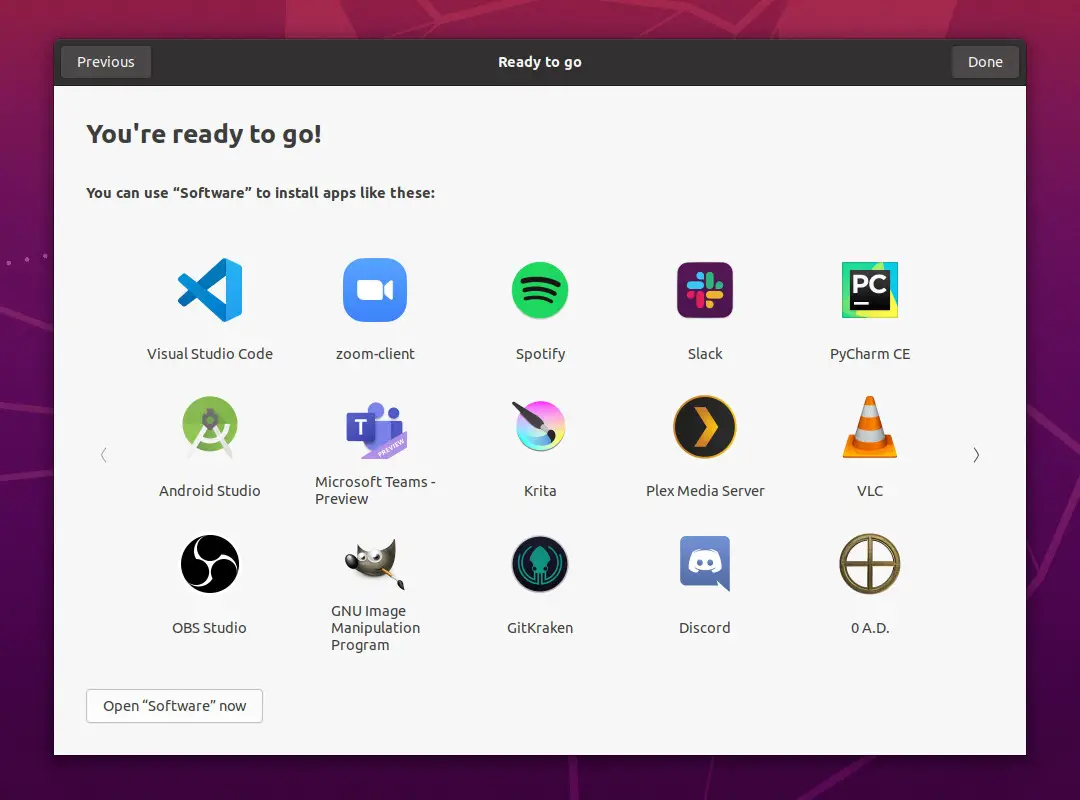
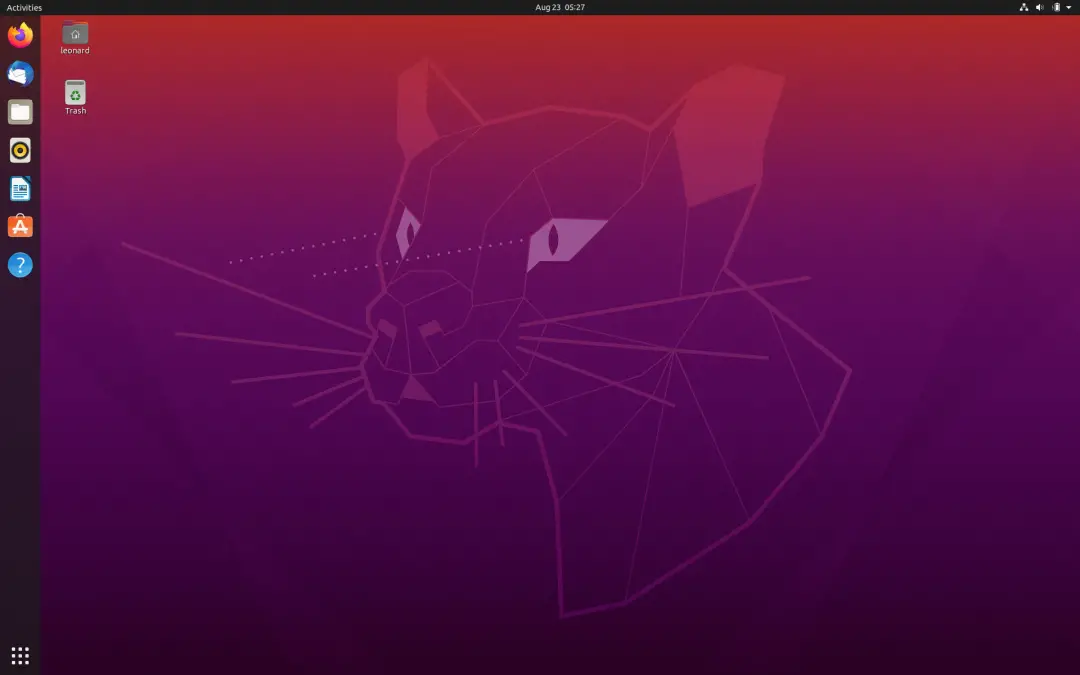
Congratulations! You have successfully installed Ubuntu 20.04 LTS and this is your desktop.
Finally, you can shut down your system by opening the system menu in the upper right corner of the screen. Click “Power Off”.
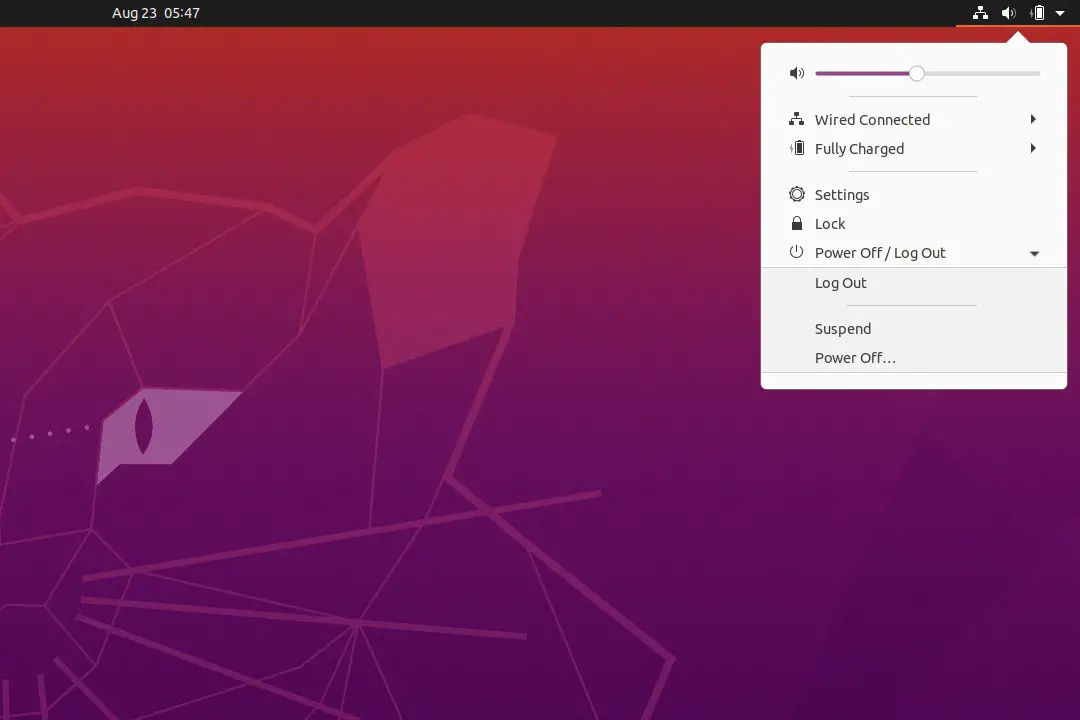
Click “Power Off”

Conclusion
In this guide mainly we discussed the newly introduced features, installation media preparation and the step-by-step installation instructions for Ubuntu 20.04 LTS. Hard disk partitioning was not explained in this guide and will be thoroughly explained in a separate post. Let us know your thoughts on this guide in the comment section.